
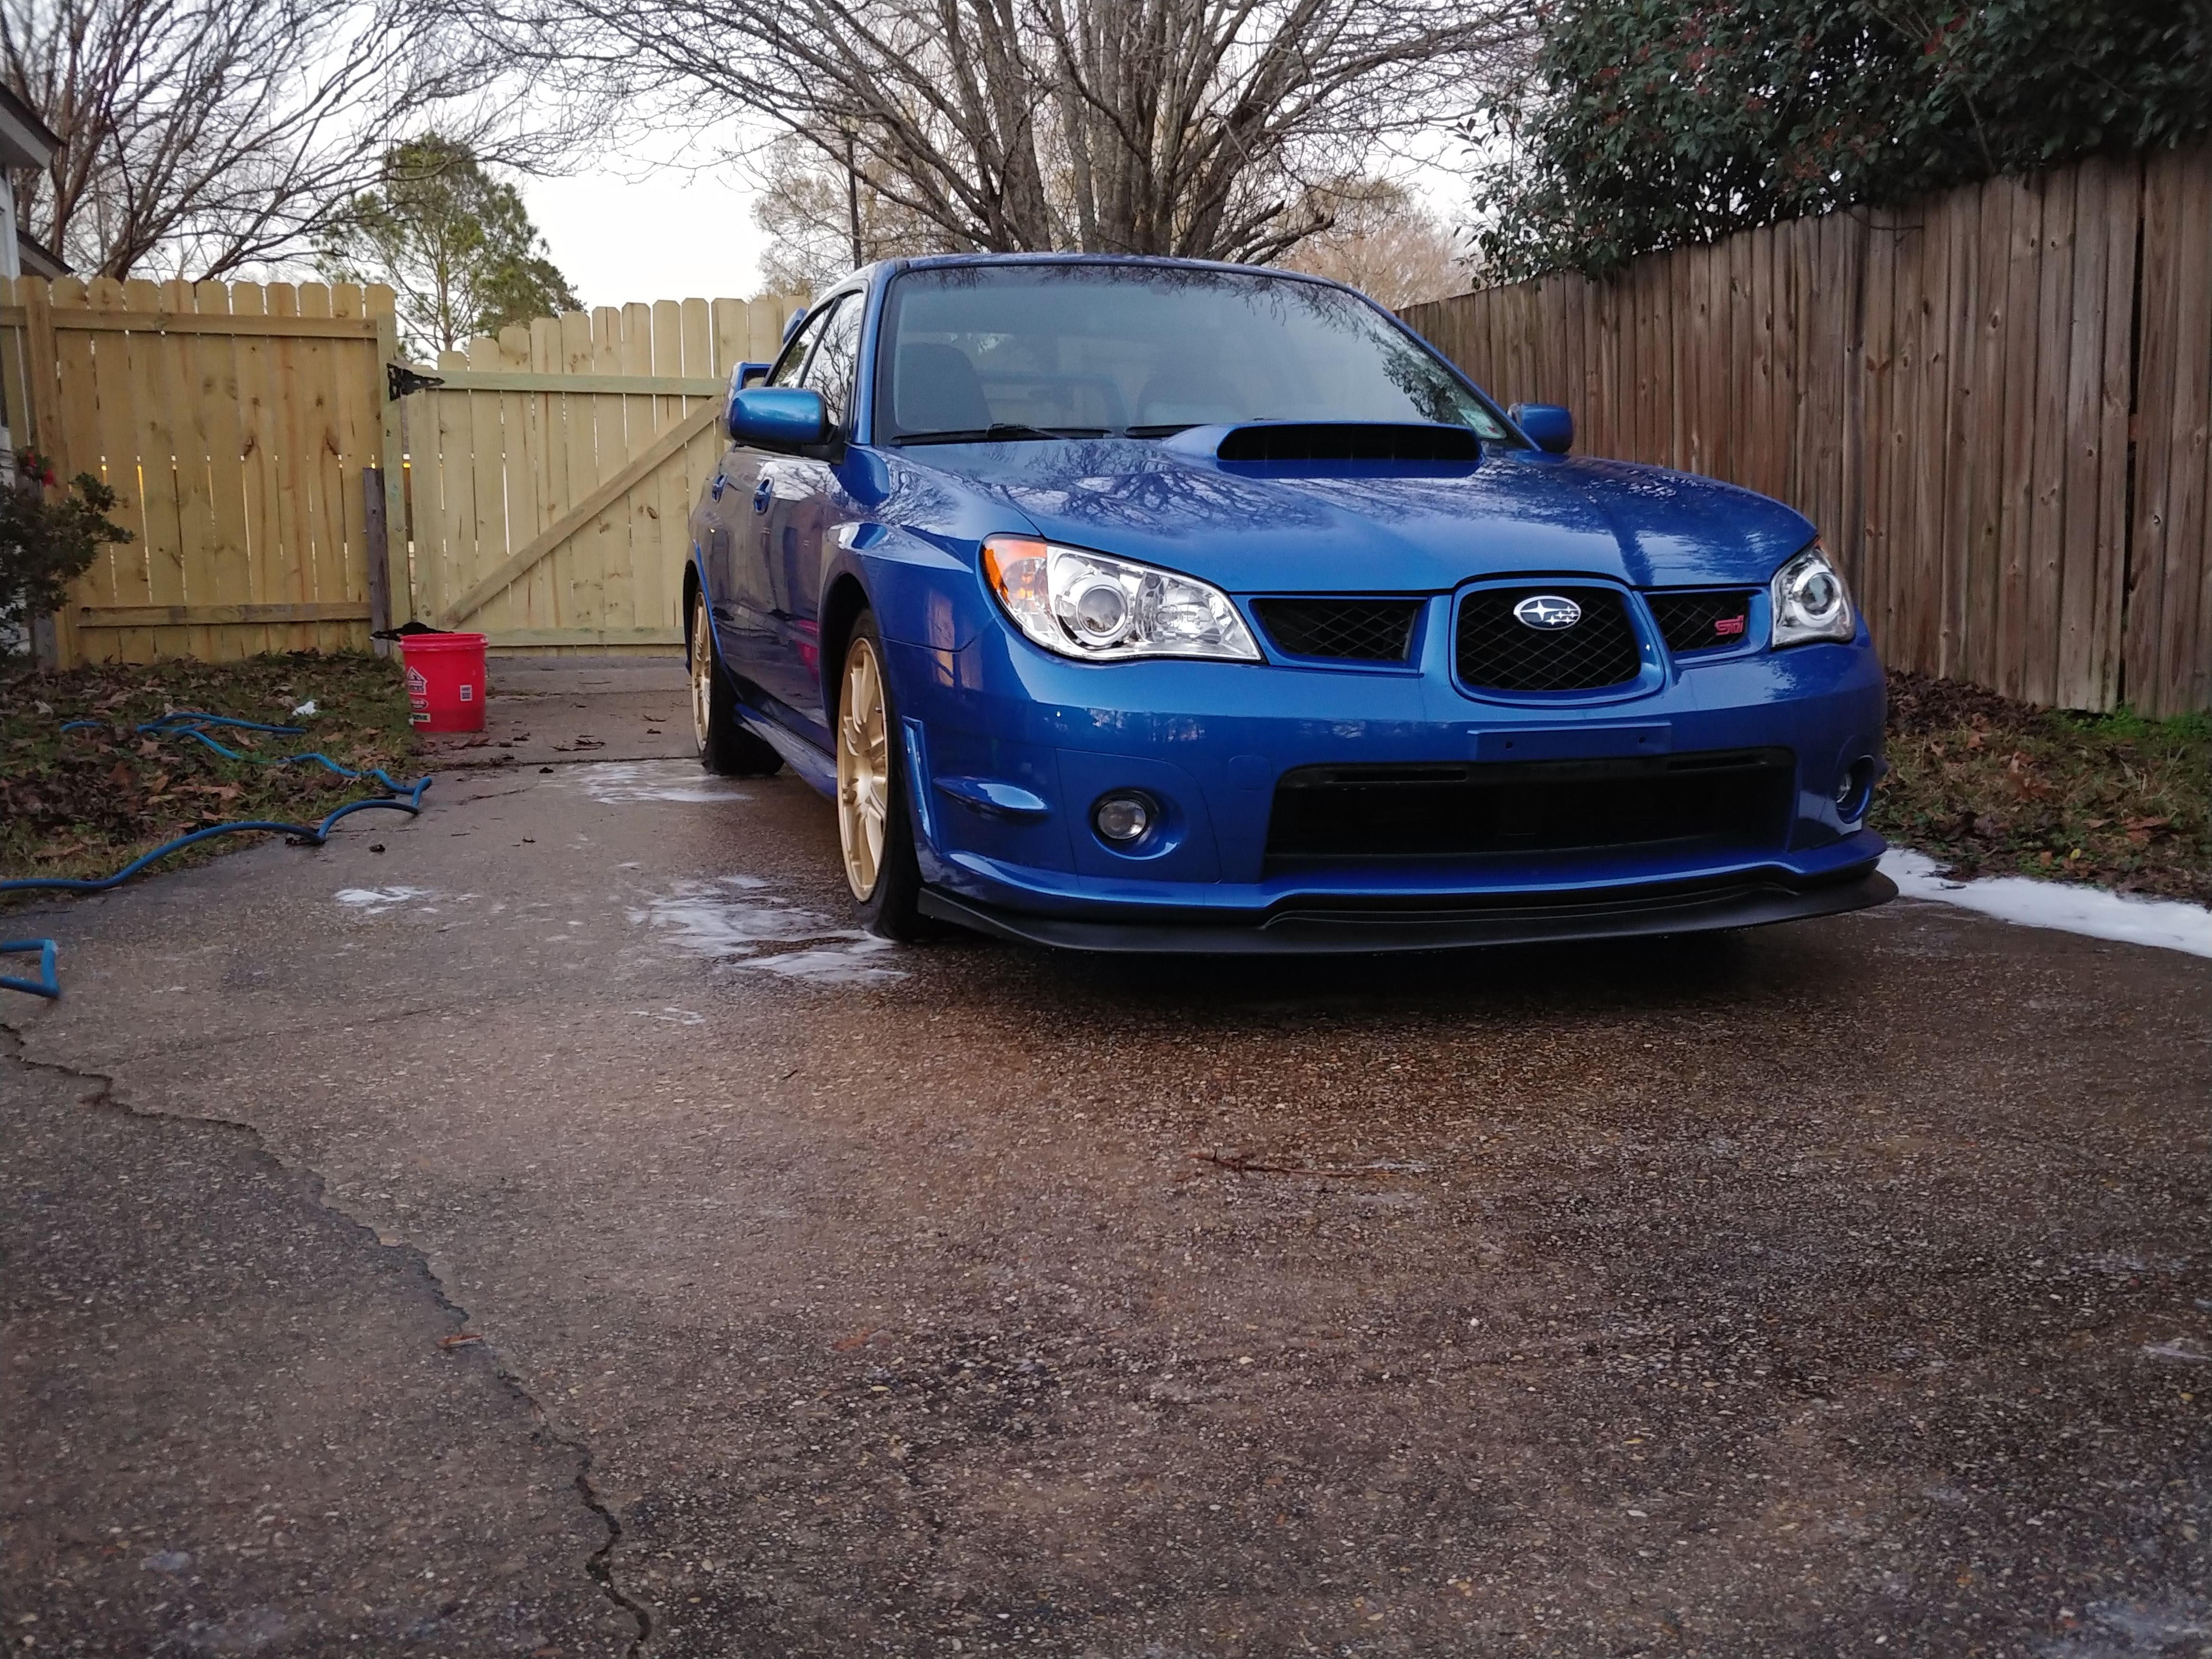
Here is another post that deviates a bit from car audio but may still be helpful to a lot of people. This will go over a dual catch can setup for my 2007 STI that doesn’t break the bank as much as the higher quality custom kits from name brand manufacturers. This is not meant to take away from those companies’ sales. In fact I sell Mishimoto, Boomba Racing, Cusco, Beatrush, and ProSport catch cans (shoot an email over to CAAInstallations@gmail.com for pricing and availability if interested). These kits are much higher quality, have the proper R&D behind them, and shouldn’t be completely overlooked when considering a catch can or air oil system. I am offering a cheaper alternative geared more towards DIYers that like to build things from scratch and source their own materials.
First thing you should know is why a catch can is beneficial. The way the stock system is setup, air is pulled from the engine crankcase and valve covers using vacuum from the intake tract. The problem with this is that this air contains oil vapors which often condense somewhere in the intake. This is worse on turbo cars or cars that are more susceptible to blow-by which will pressurize the crankcase and push more oil out into your intake. This oil in your intake air will obviously mix with the combustion gasses and lower your effective octane rating which can lead to knock on certain engines. The oil can also pool up in the intake tract and cause air flow problems, especially on forced induction cars since pressurized air won’t hold liquid as well.
The catch can intercepts the path of this air back to the intake and condenses the oil in the can. The reason I chose the cans i did is because they have a baffle and a filter media in them to help with condensing the oil back to a liquid. Some people also put other filter media in the cans to help with this.
These pictures show what happens without catch cans.


One thing I realized while doing this was that figuring out a clean looking mounting solution was difficult. This part alone may make it worth a high quality custom fit kit. The catch cans come with a couple of self tapping screws which are probably fine for mounting, but I decided to go with a more robust solution.
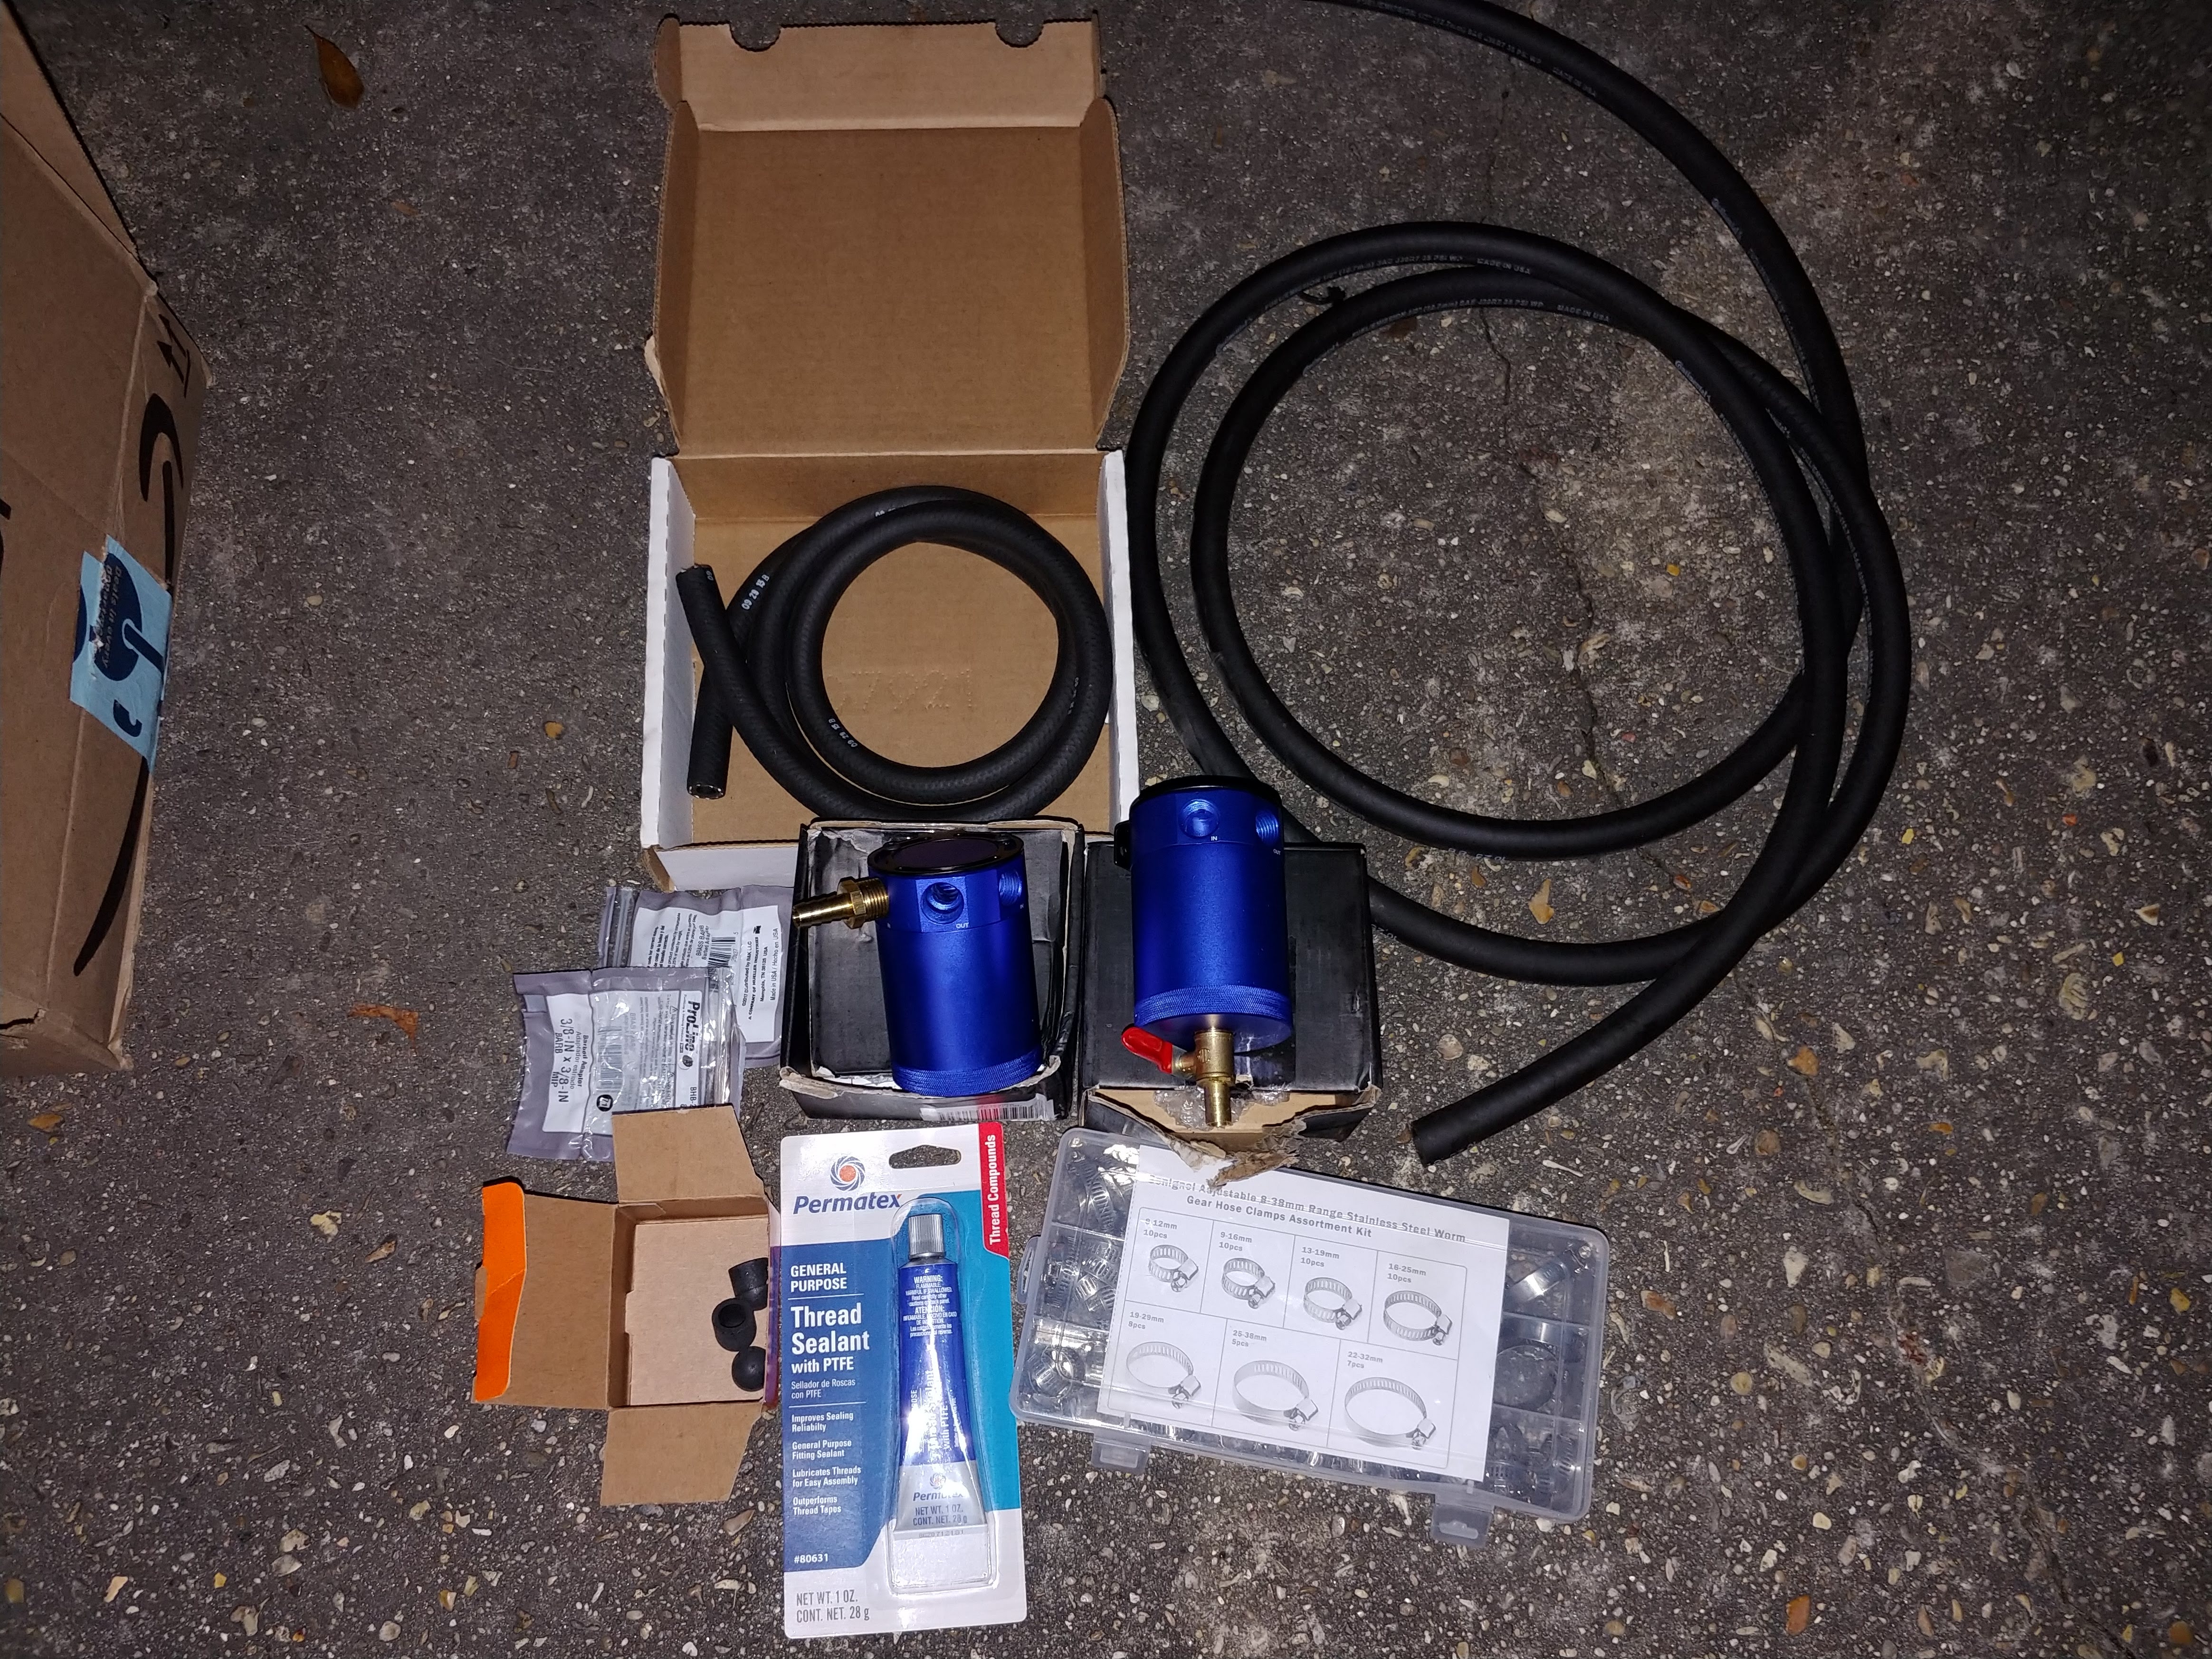
Below is a diagram and parts list along with links to all of the parts I used for my kit. My total cost at the time of purchase was around $130. Price will fluctuate depending on when you’re reading this.
| ITEM | DESCRIPTION | LINK | QTY |
| 1 | CATCH CAN (NOTE 1) | https://amzn.to/2T5SuUO | 2 |
| 2 | 1/2″ VACUUM CAP | https://amzn.to/2Mk7DPH | 1 |
| 3 | 3/8″ HOSE | https://amzn.to/2DmhHVC | ~5 FT |
| 4 | 1/2″ HOSE | https://amzn.to/2S0R2pa | ~7 FT |
| 5 | DRAIN VALVE | https://amzn.to/2W6XURo | 2 |
| 6 | HOSE CLAMPS (NOT SHOWN) | https://amzn.to/2FQejUD | 10 |
| 8 | 3/8″ NPT TO 3/8″ HOSE BARB FITTINGS (NOT SHOWN) (NOTE 2) | https://amzn.to/2RUV0zS | 2 |
| 9 | THREAD SEALANT (NOT SHOWN) | https://amzn.to/2Mk9CDB | 1 |
Click here for full size pdf image

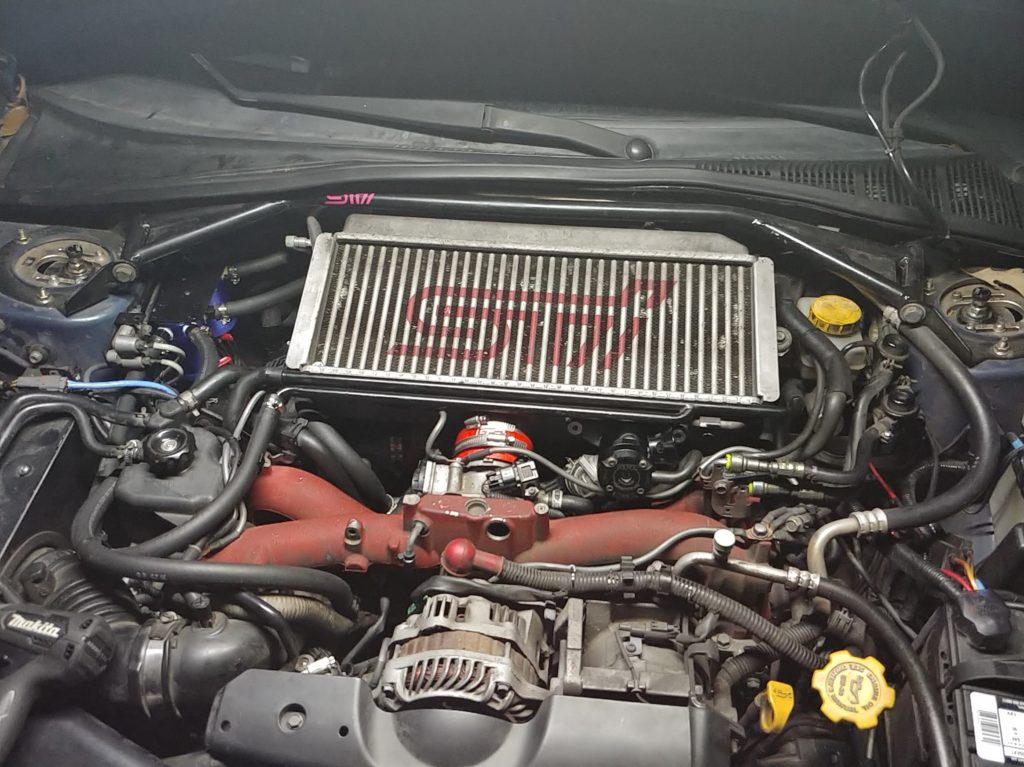
The guinea pig
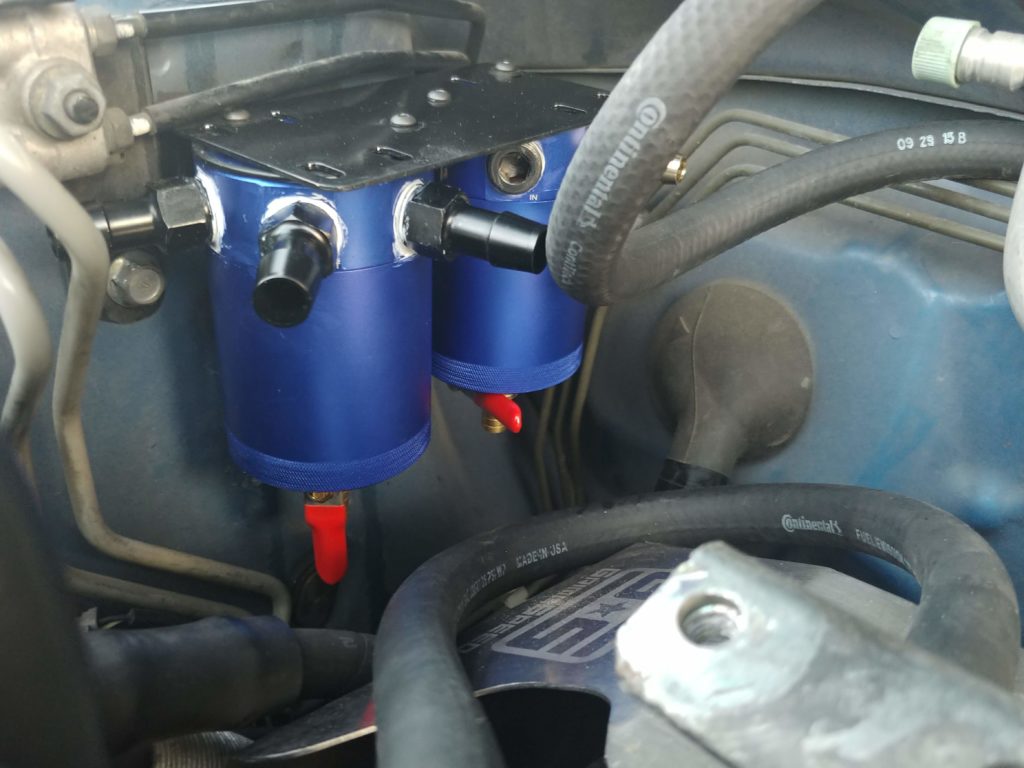
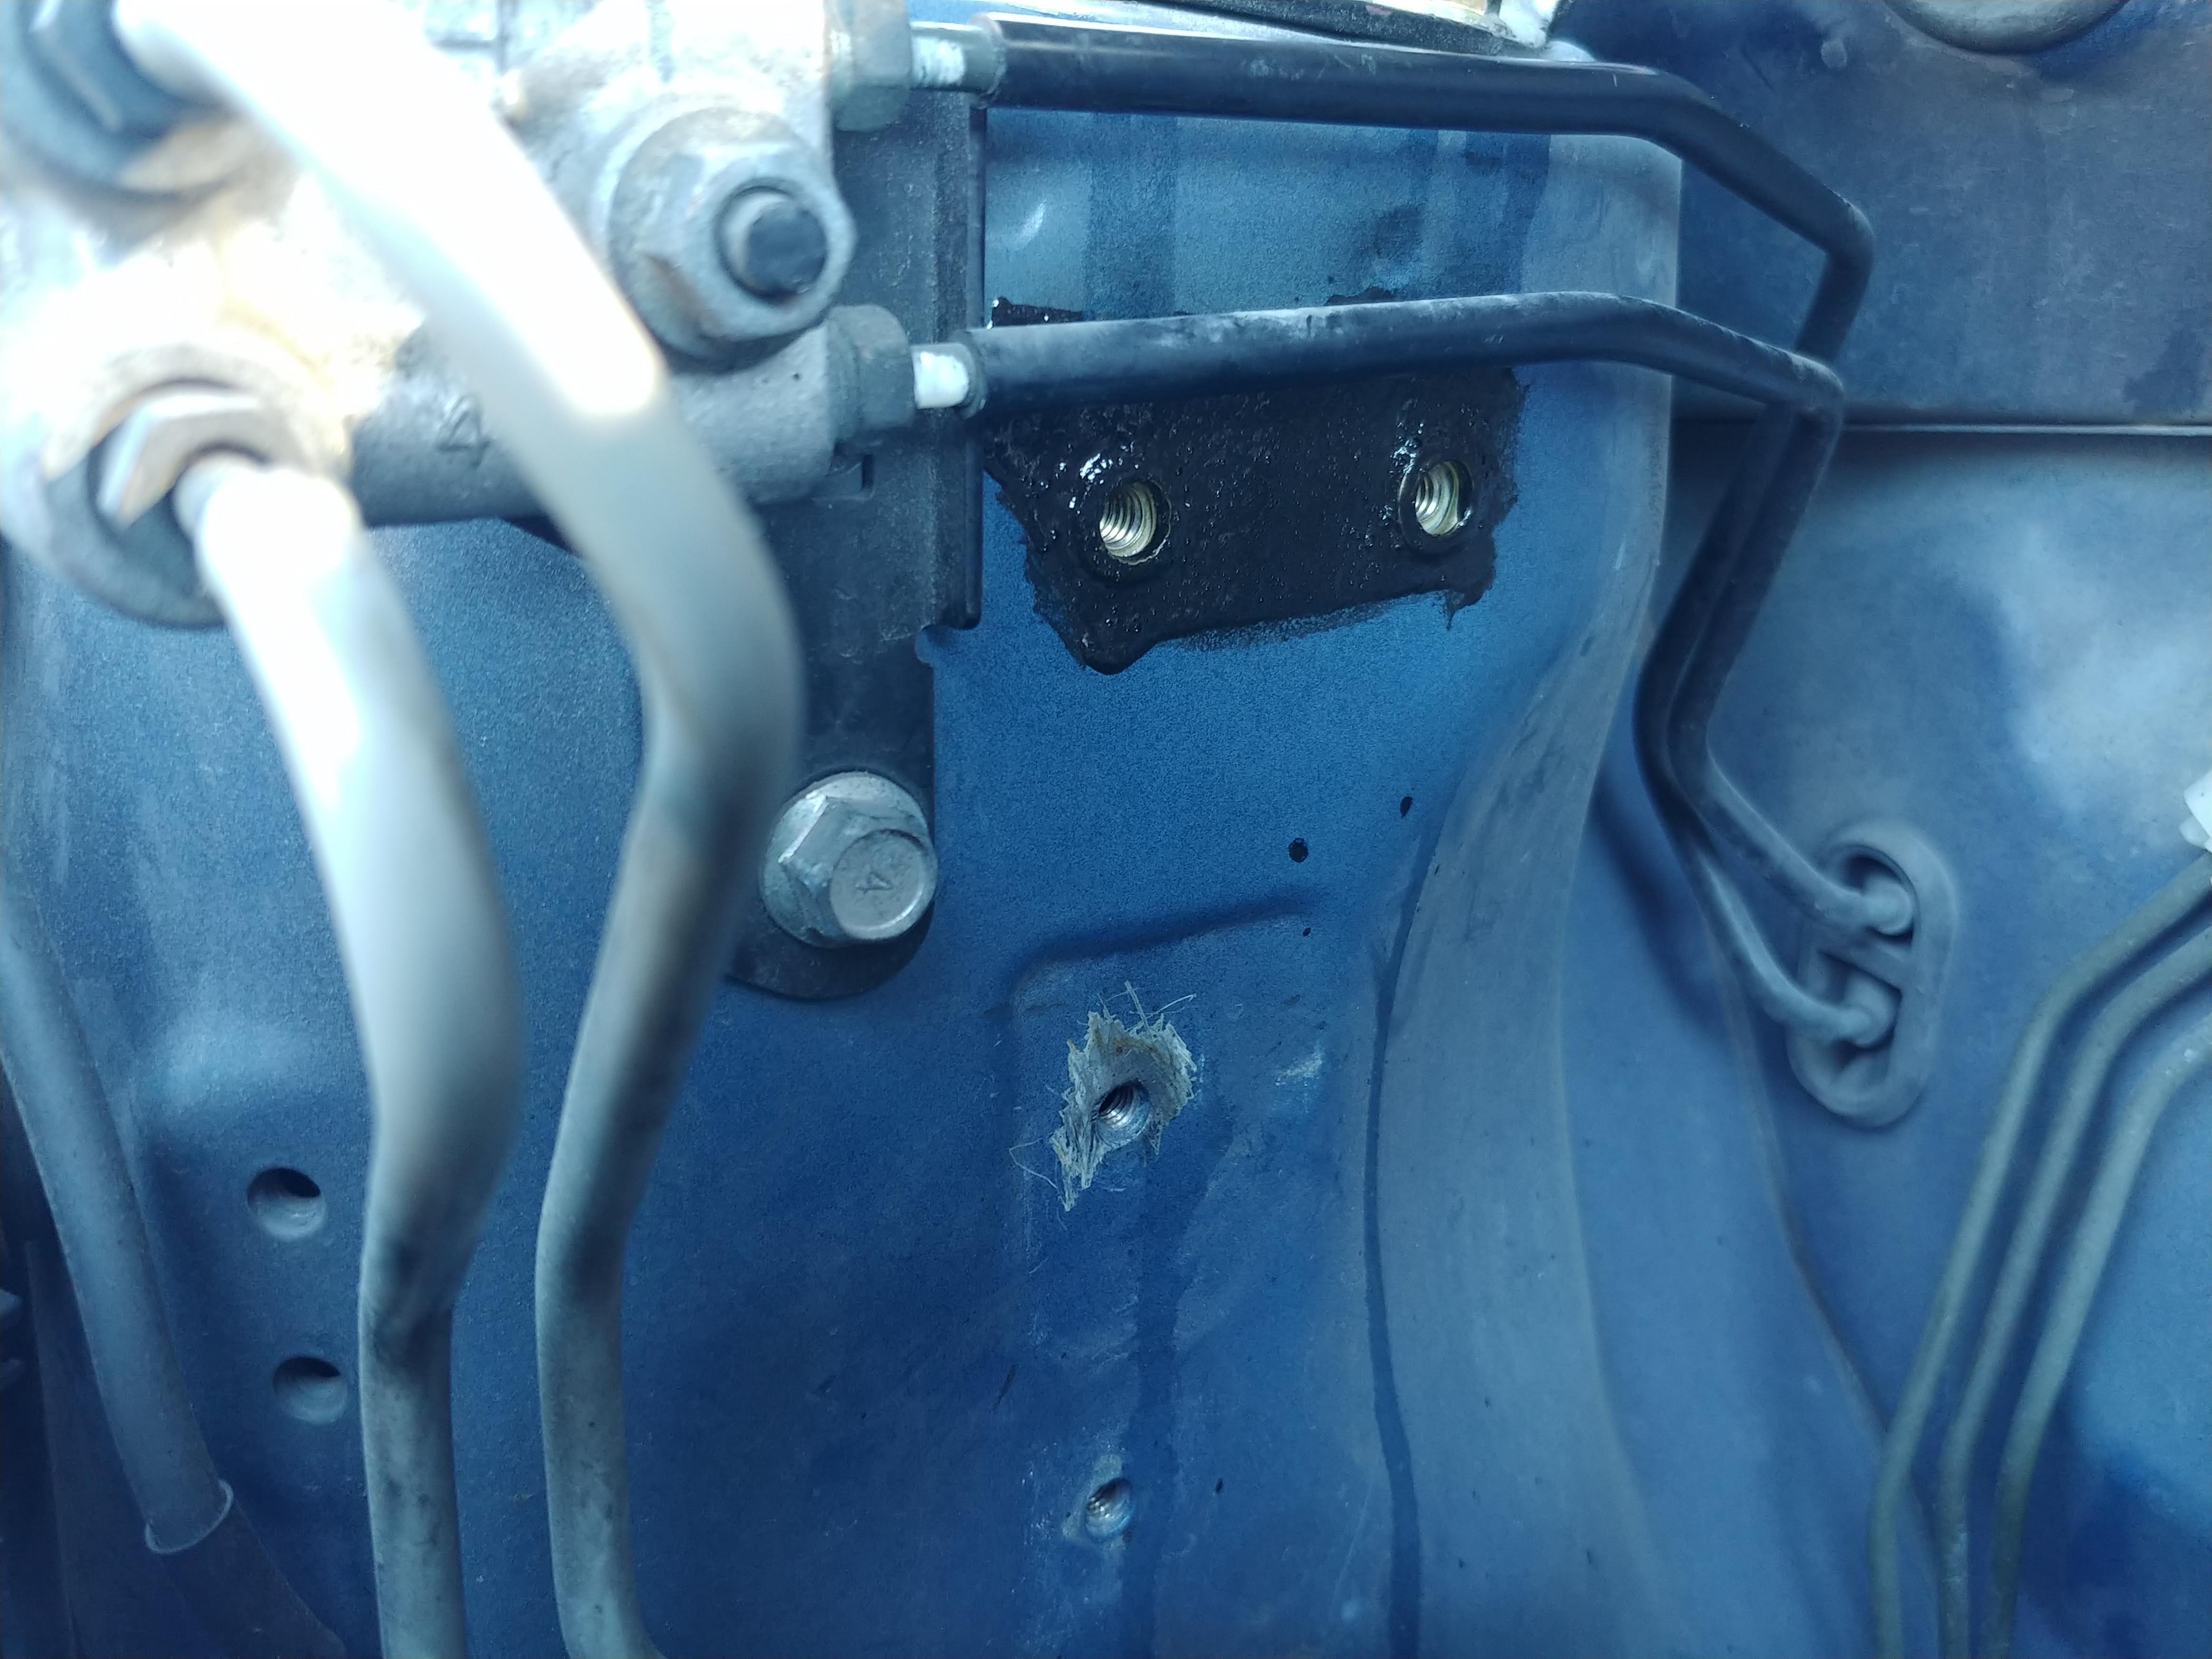
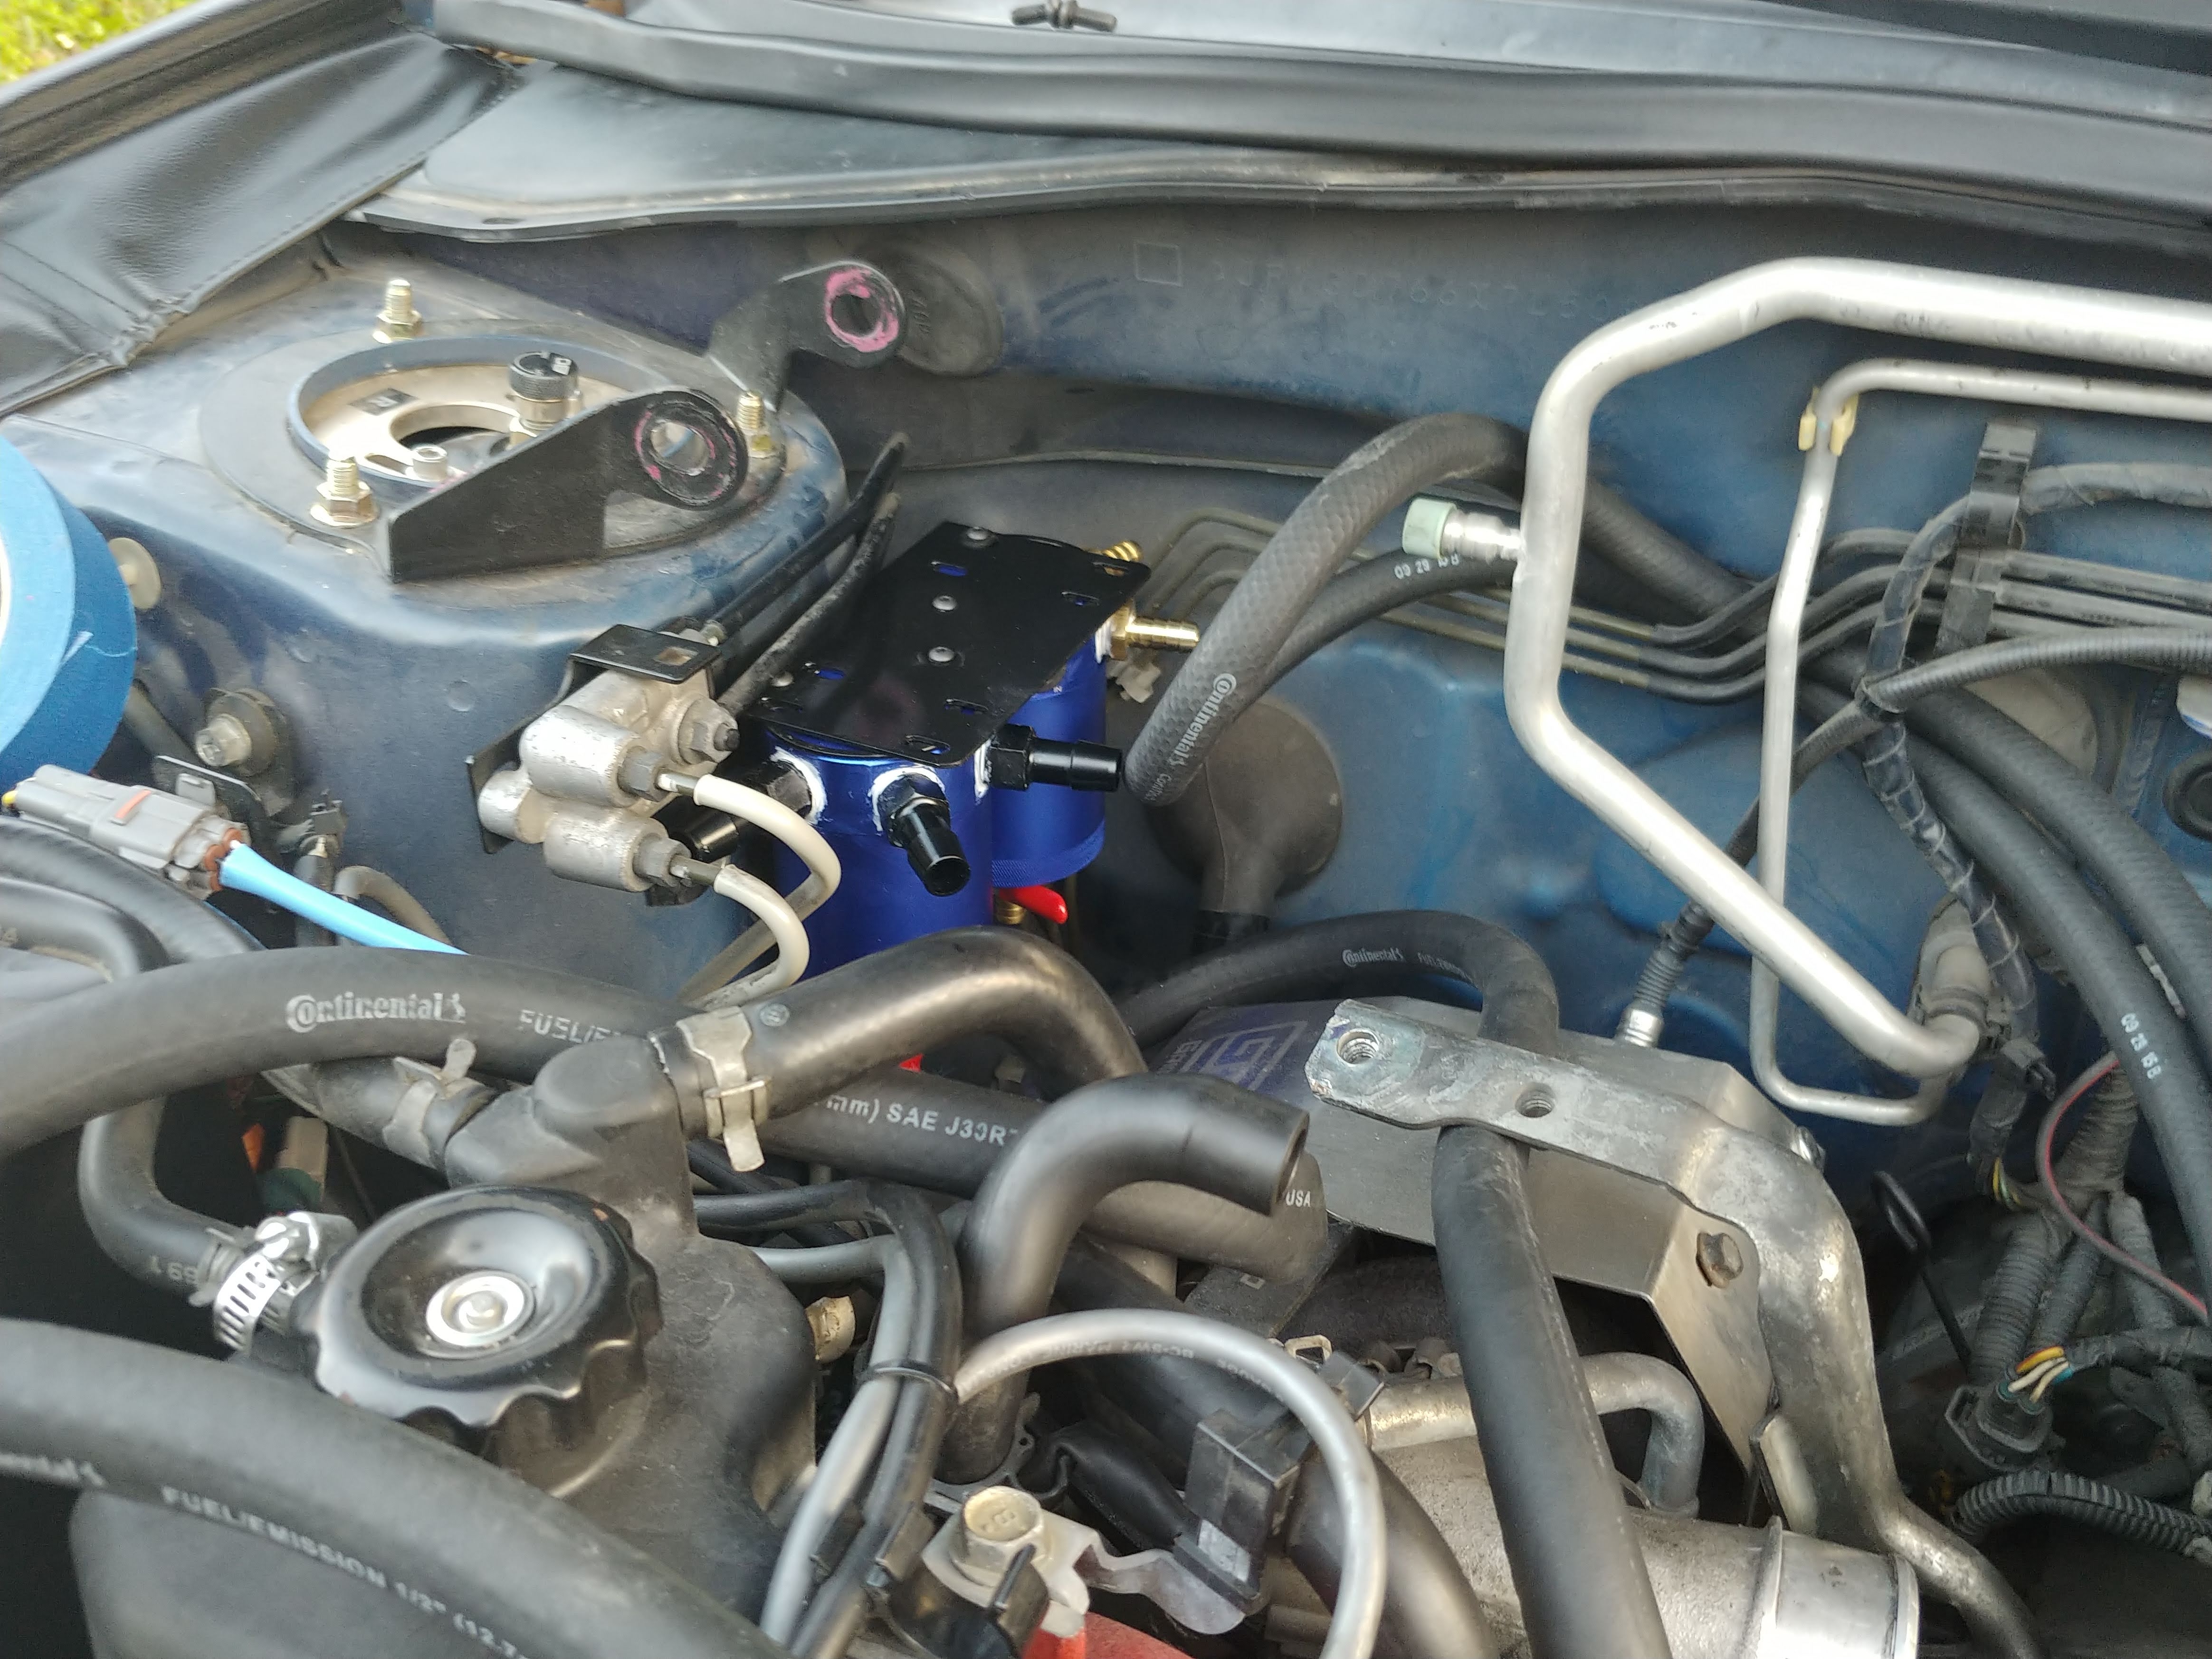
For mounting location, I used the normal area on these cars which is the passenger side strut tower after removing the engine harness bracket. I found an old bracket from an Escort 9500ci install that worked pretty well and mounted it to the strut tower with these nutserts, these screws, and these washers (check out this awesome DIY nutsert tool. The one I put together is a variation of this. Works great). I also gave it a quick spray of undercoating to help prevent rust, but I was too lazy to jack the car up to spray the other side. Maybe next time I take that wheel off.
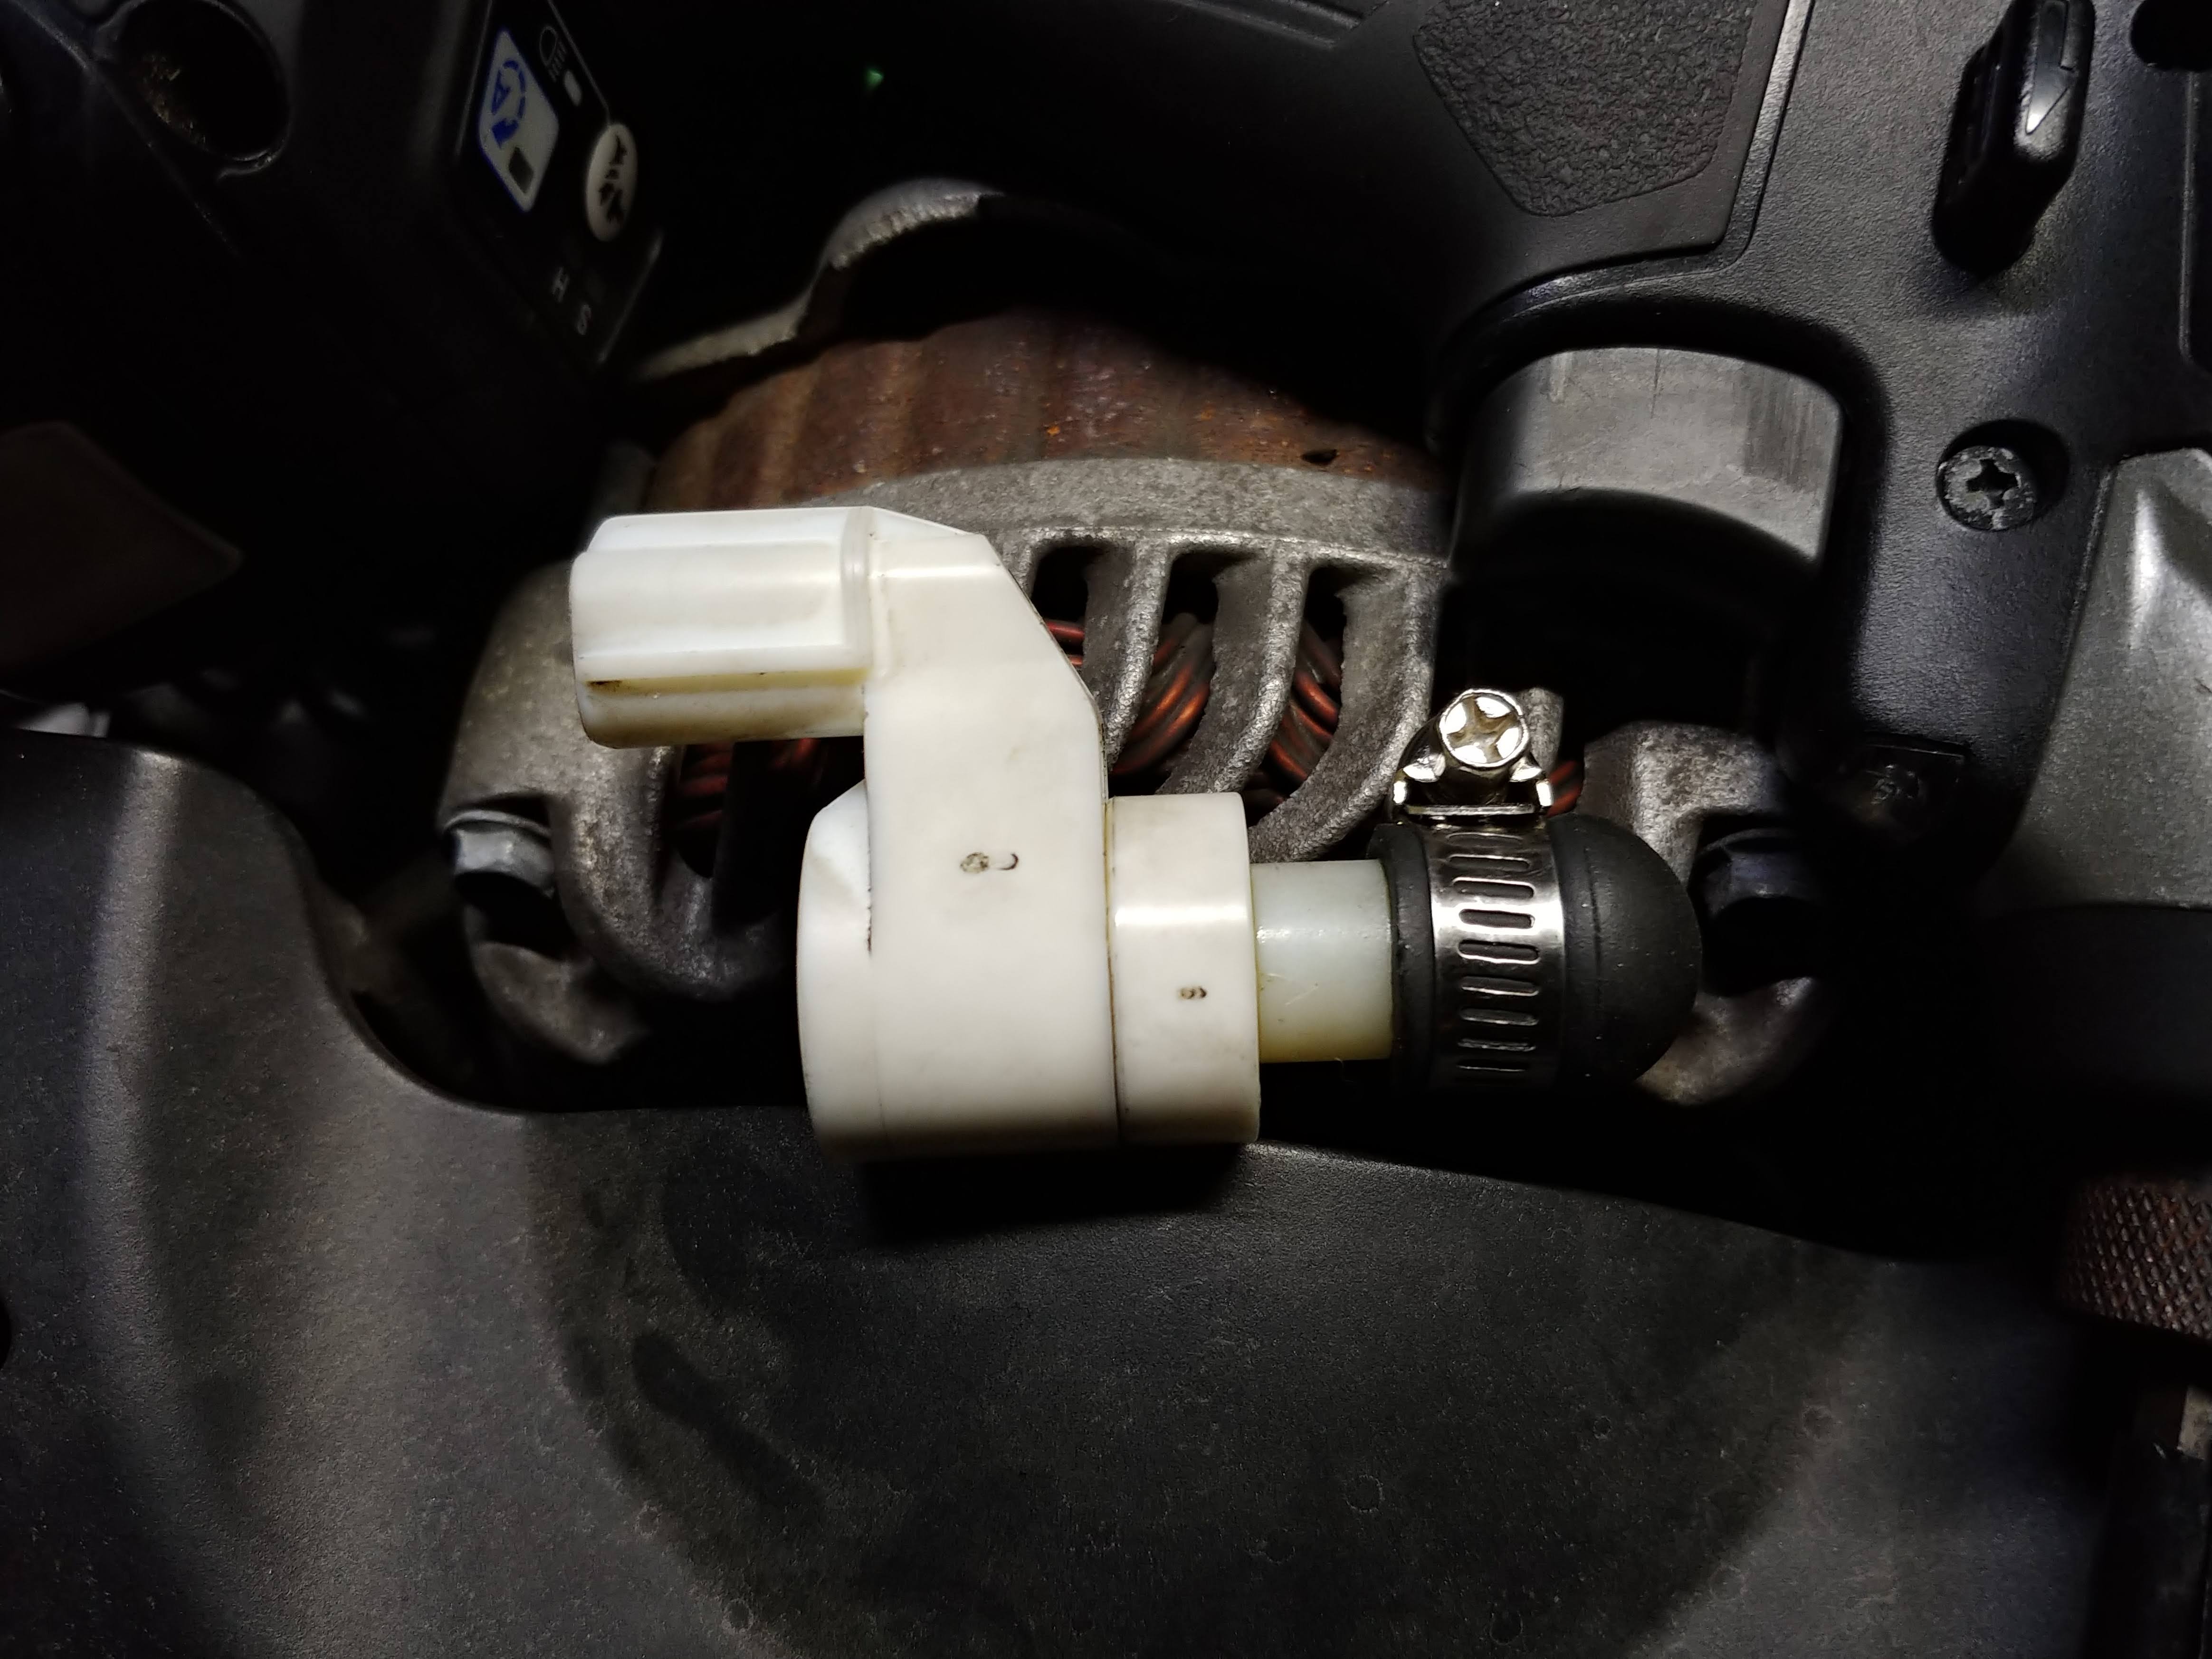
I used the install instructions from both Mishimoto and Radium to base my install on, but to make it easier, I just vacuum capped the little white plug that runs from the back of the PCV valve tee fitting to the turbo inlet and used the factory metal valve breather tubing that’s mounted to the intercooler.
To get the 1/2″ hose to fit on the turbo inlet, I used a heat gun and the end of a ratchet wrench to expand it. Didn’t use a hose clamp on this fitting since I put it on with the hose still warm, so it shrunk in place.
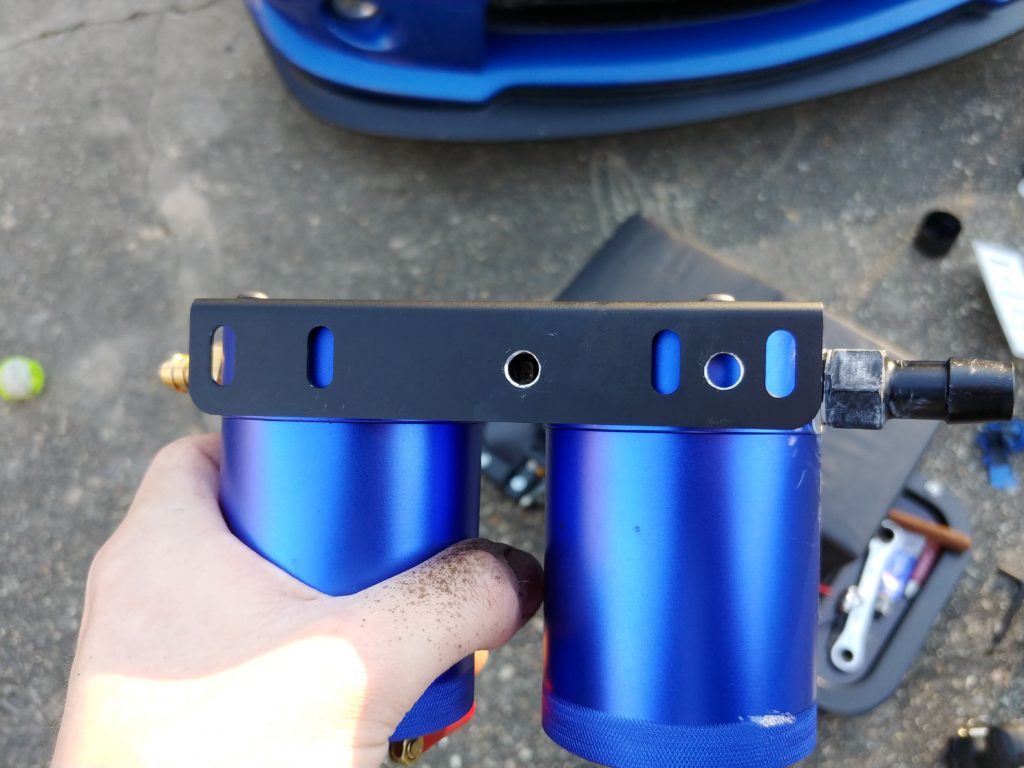
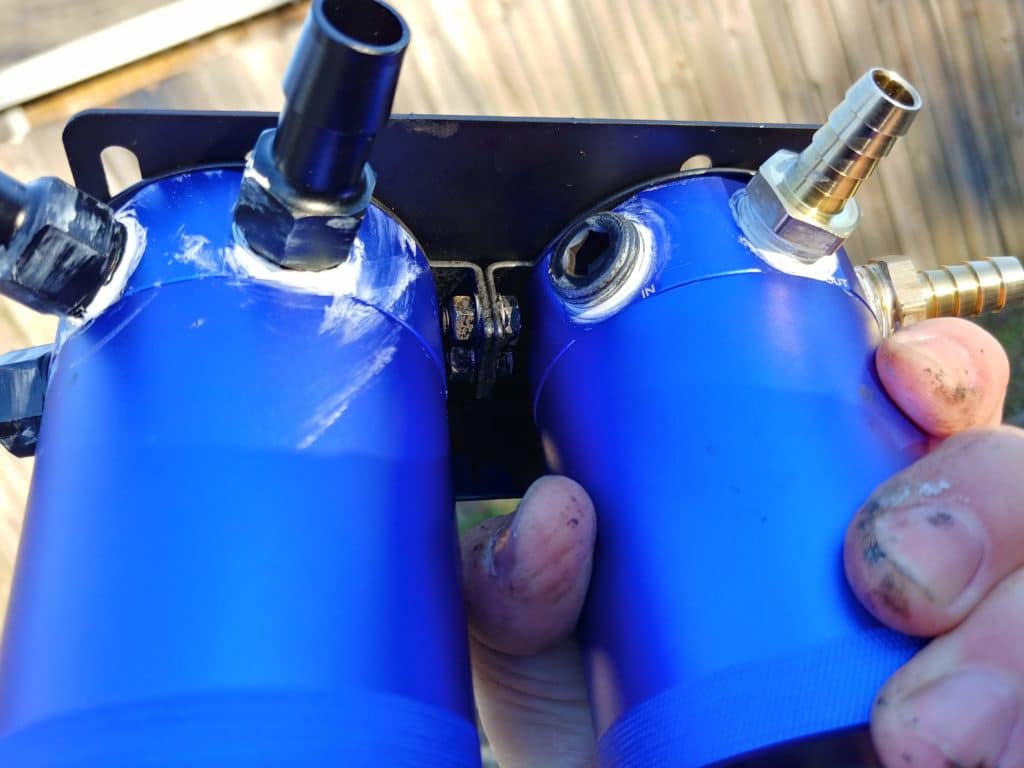
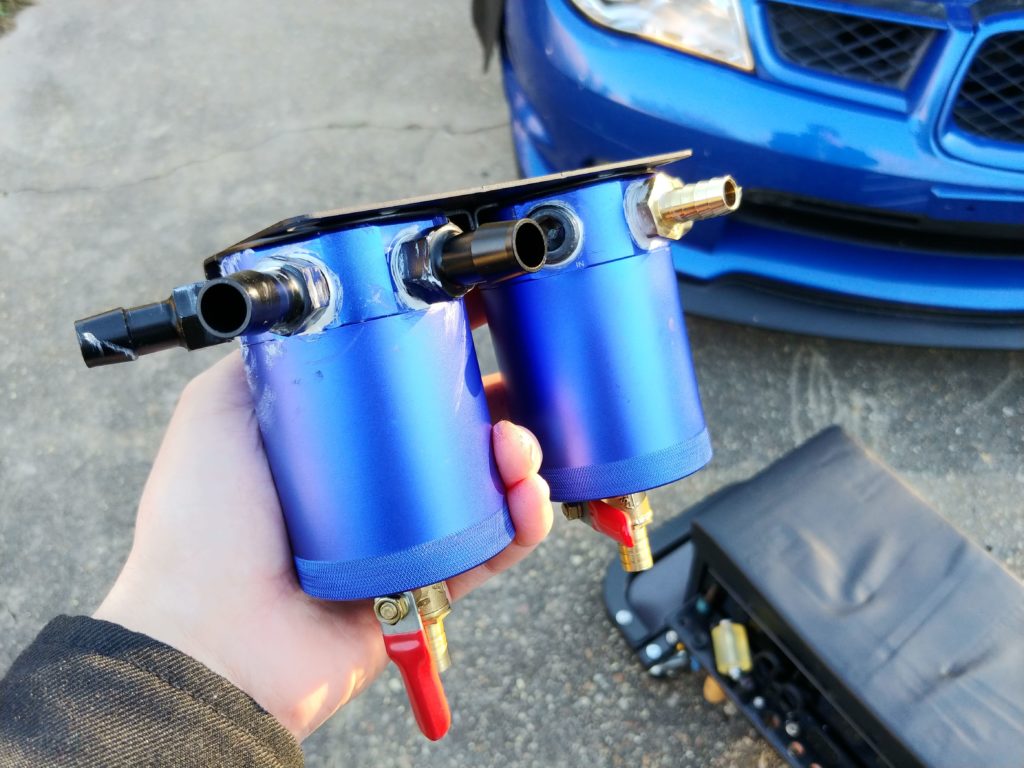
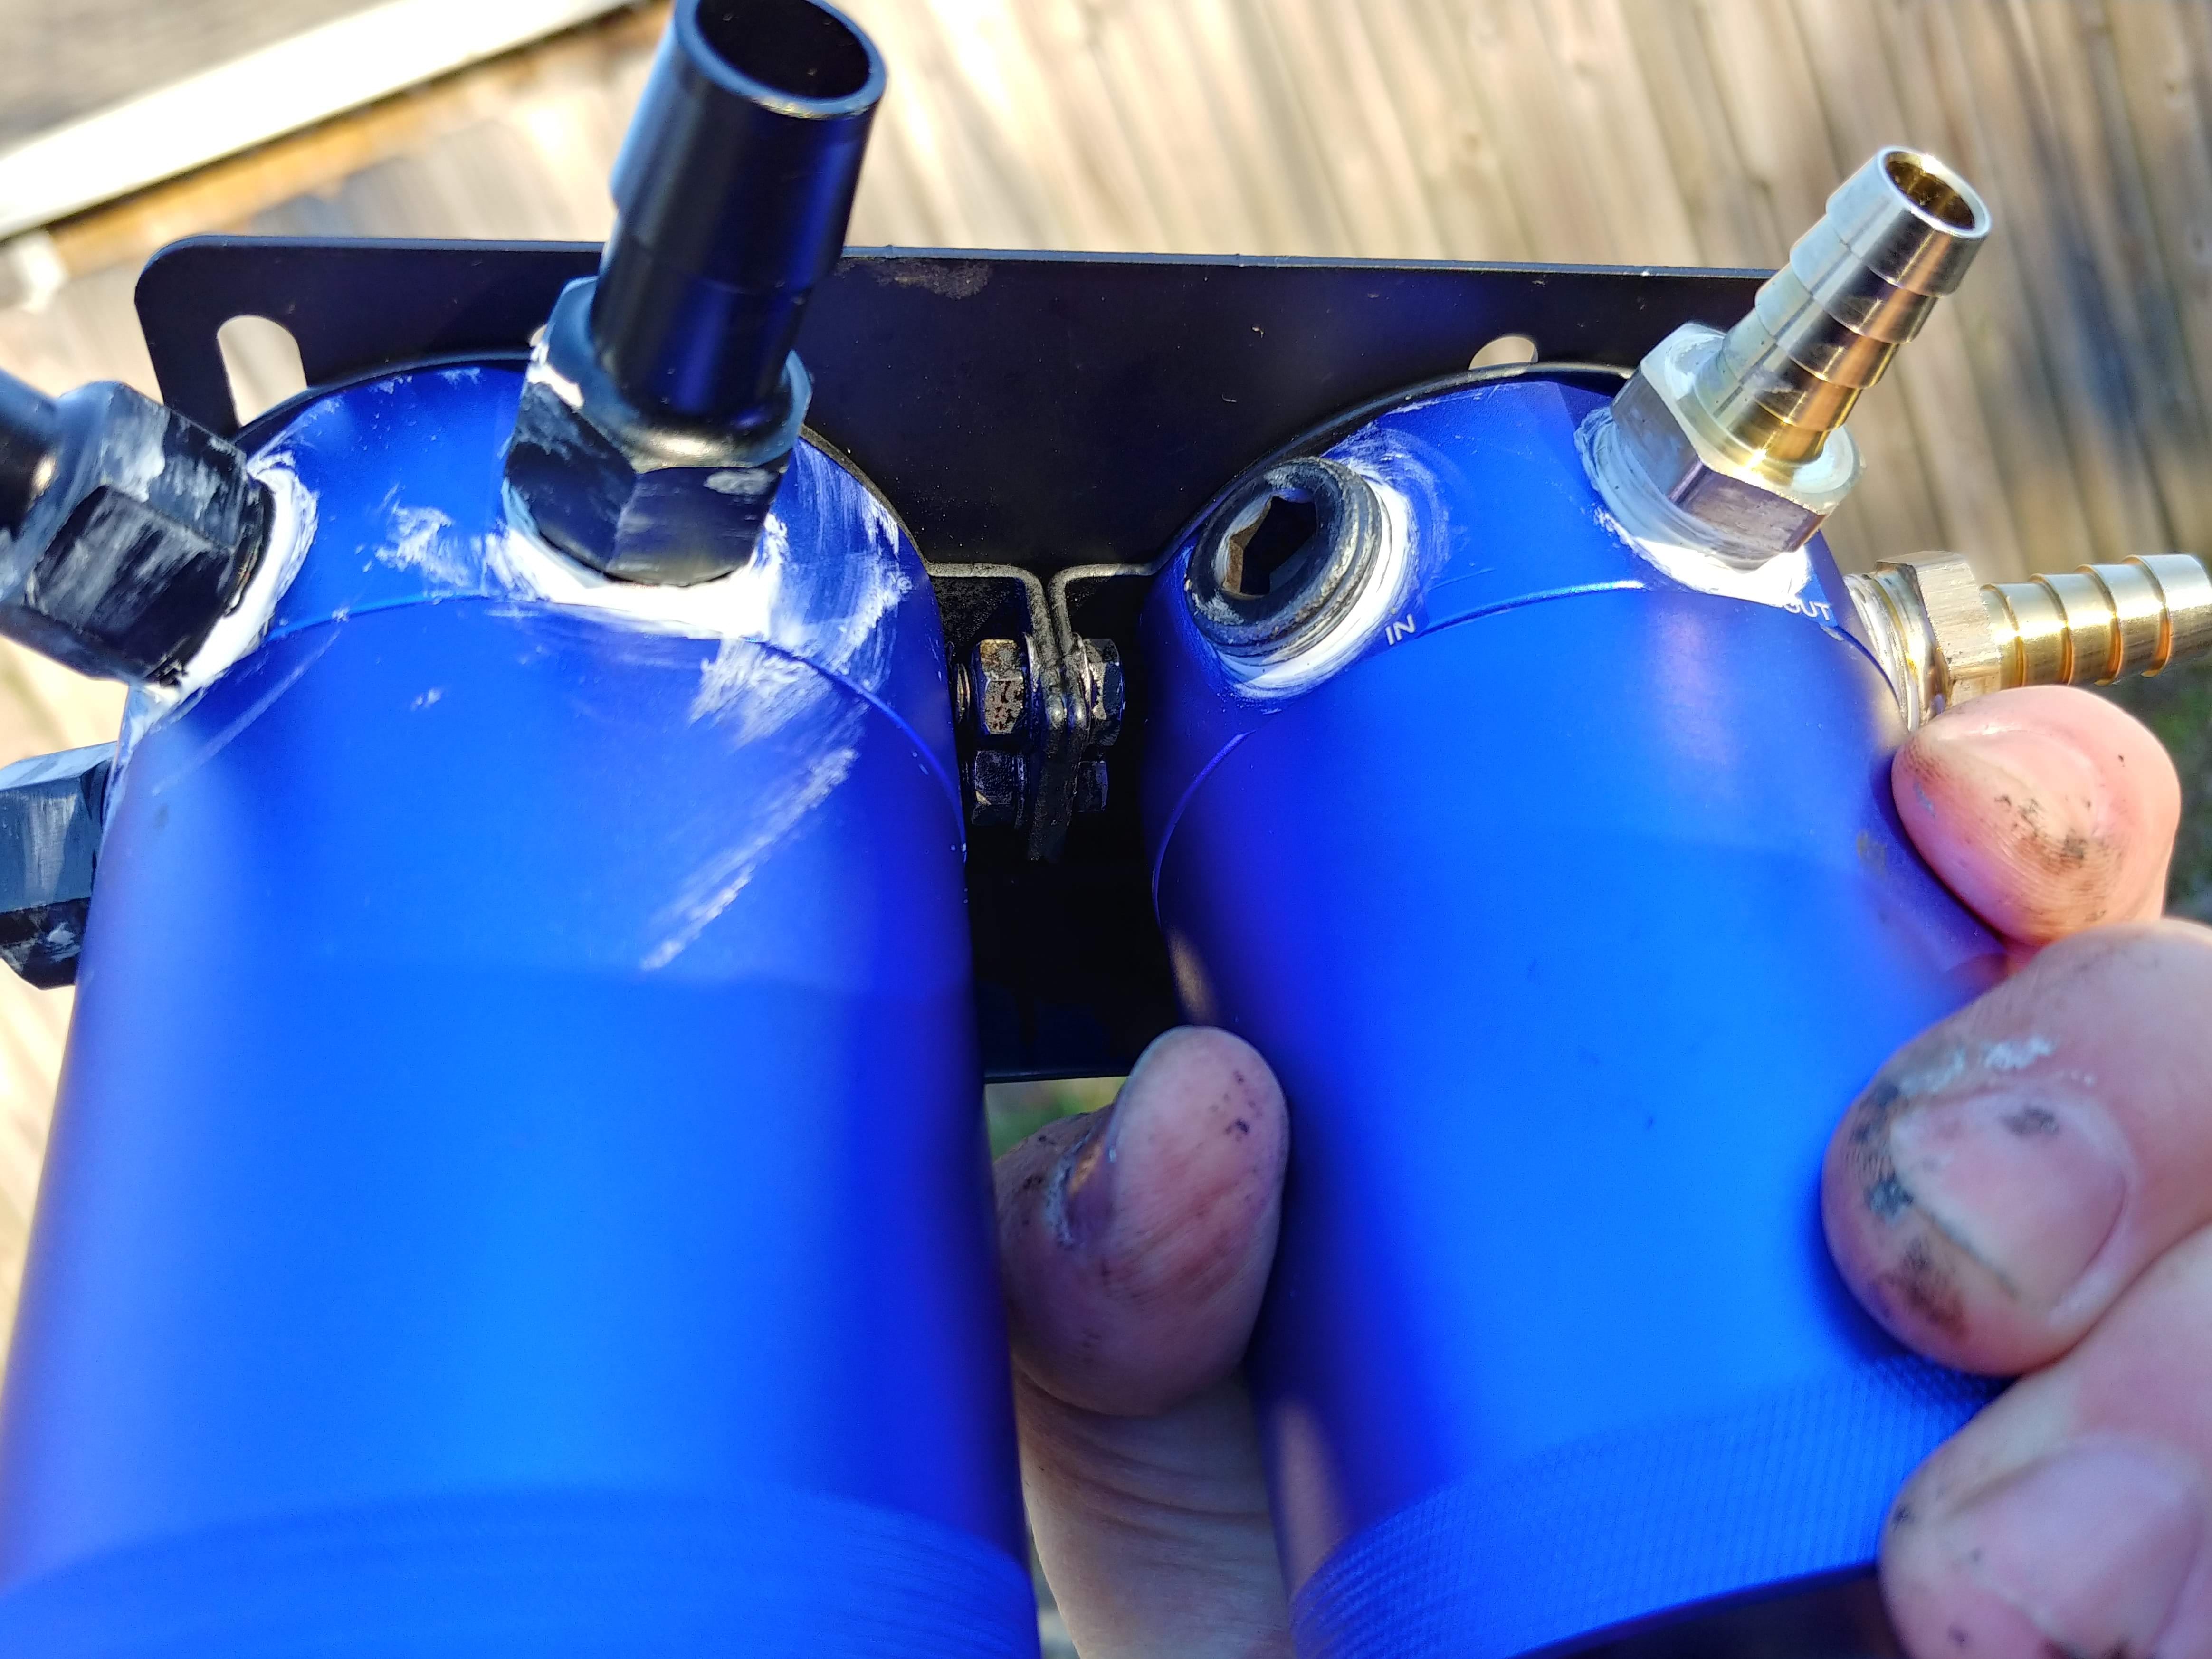
These cans come with fittings made for 1/2″ hose, so I needed two 3/8″ hose barb fittings. That’s where the brass ones came from. For my setup, I needed one 2 port and one 3 port catch can, but I liked the blue which was only available in 3 port. I used the plug that came on the bottom of one can to plug the extra inlet port for the PCV can since I put valves on the bottom of the cans to drain them. I used some thread sealant to seal the fittings on the cans.
Scroll through the pictures below to see what I’m talking about.
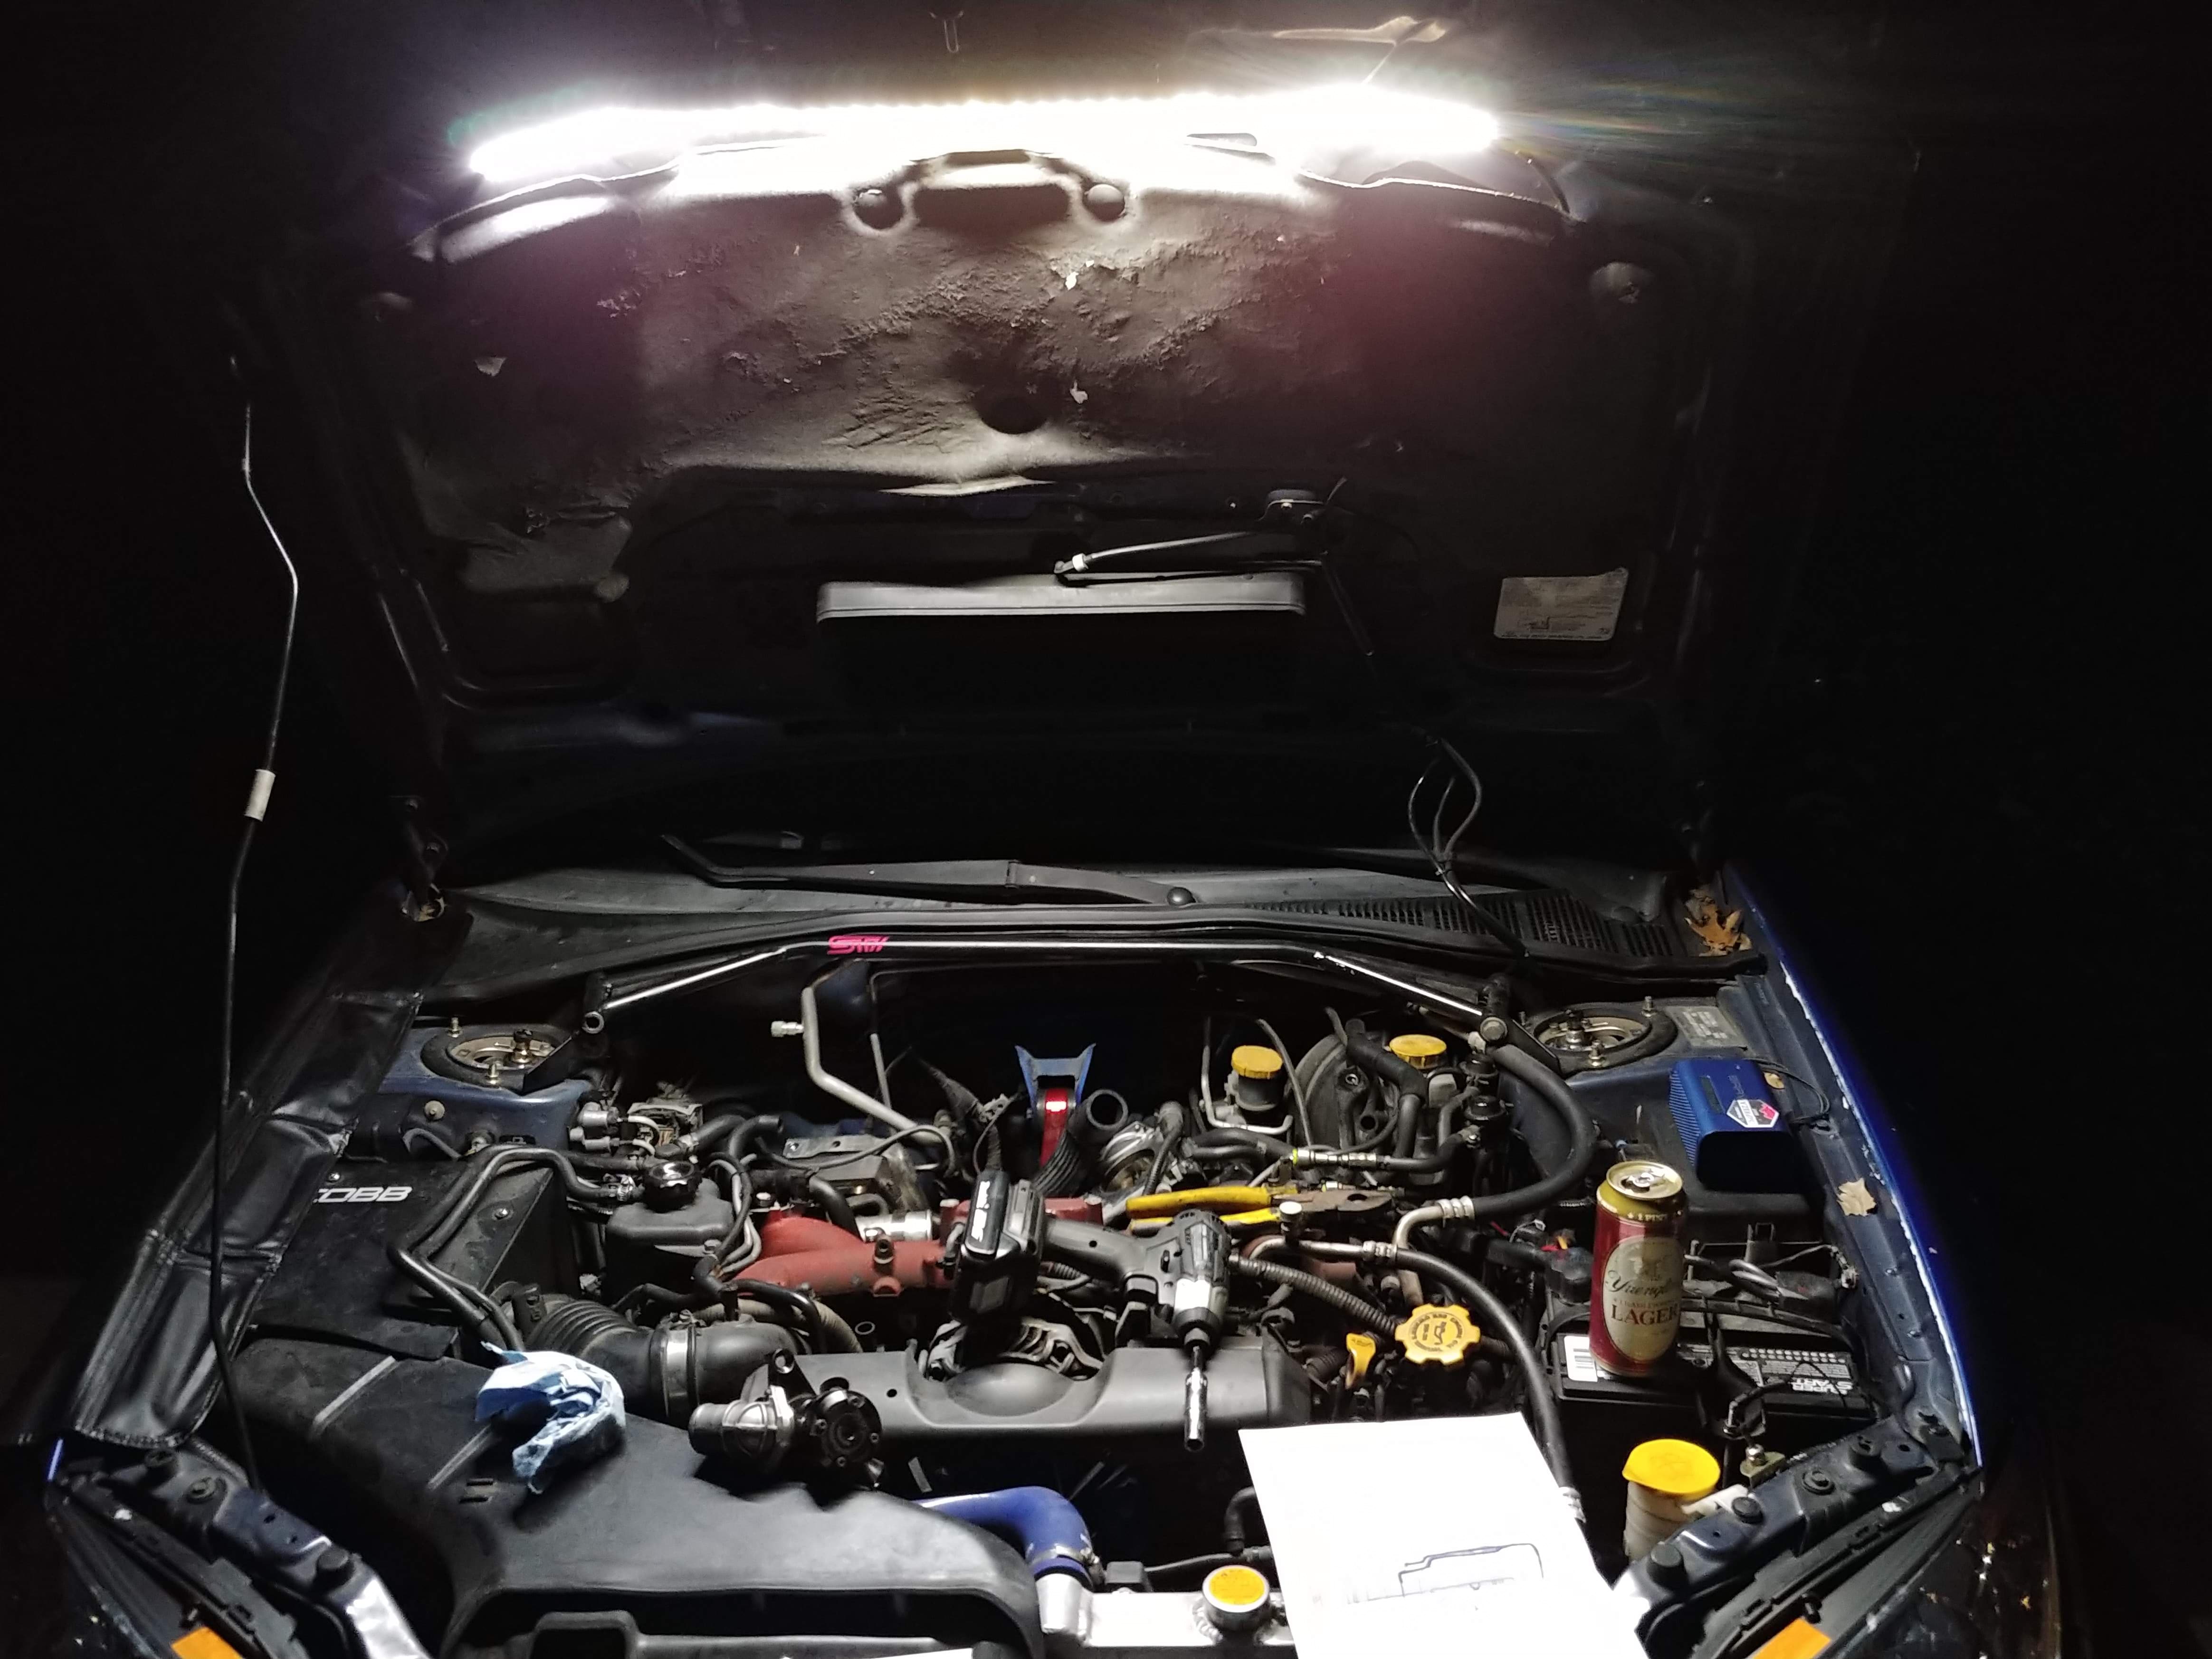
Oh and if you want a sweet LED hood light kit, let me know: CAAInstallations@gmail.com. It works great. I had to finish up after dark and could see most of what I needed with just that one light.
-

See above for links to parts -
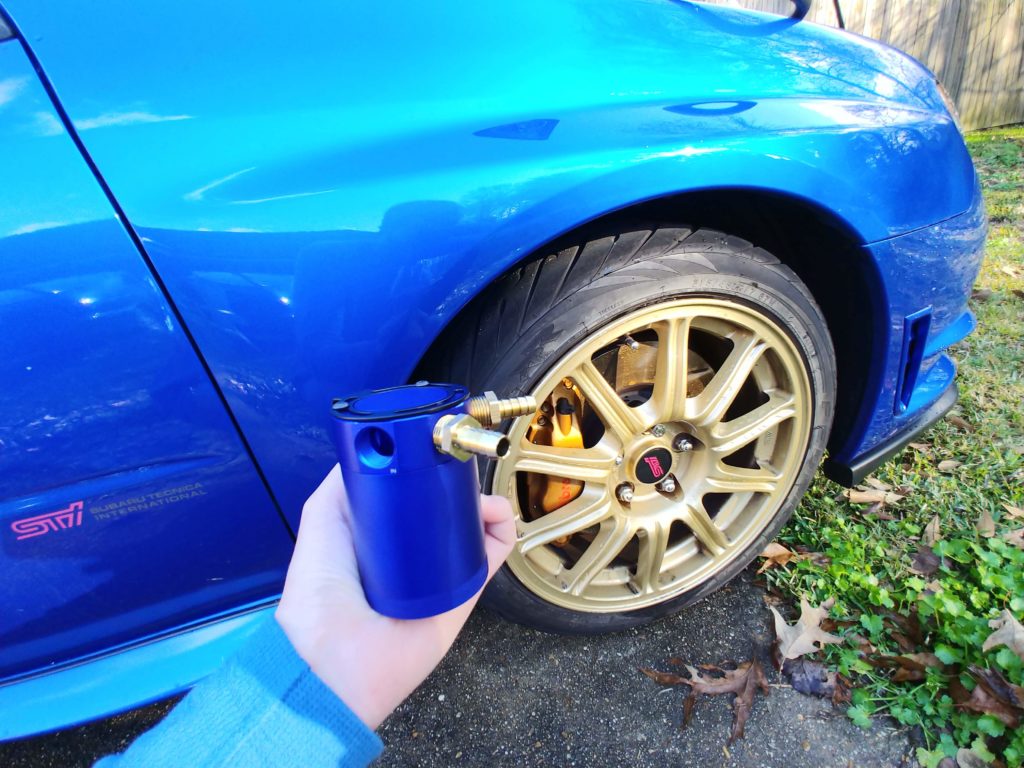
Blue and gold matches pretty good -
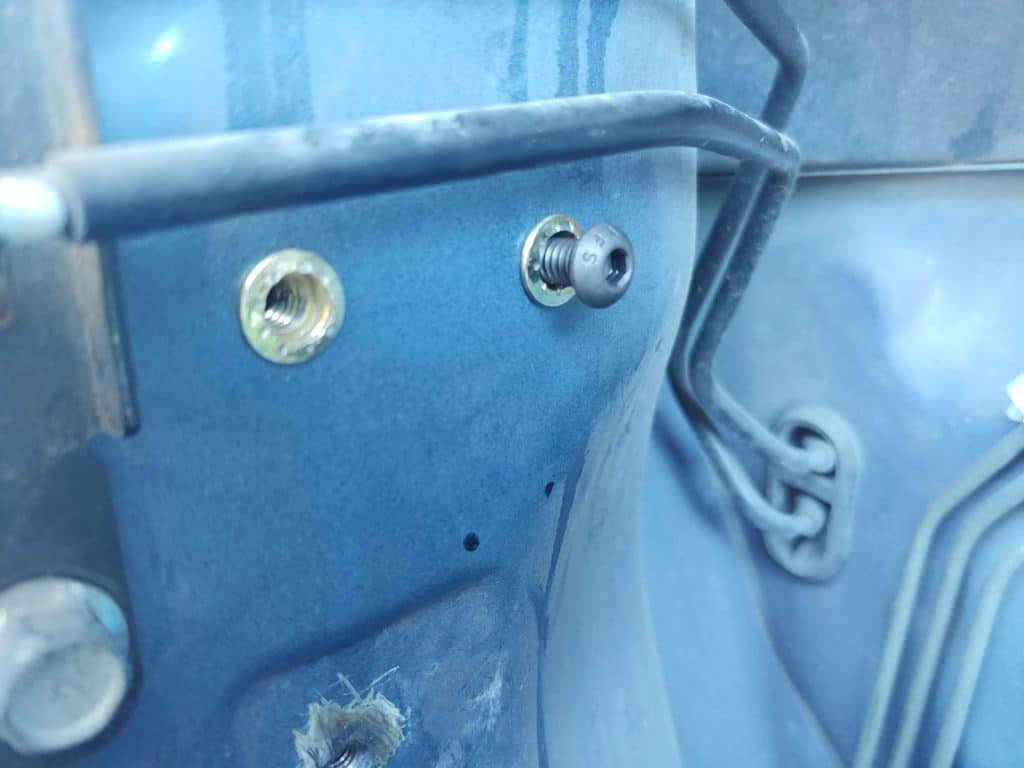
Nutserts installed in strut tower -
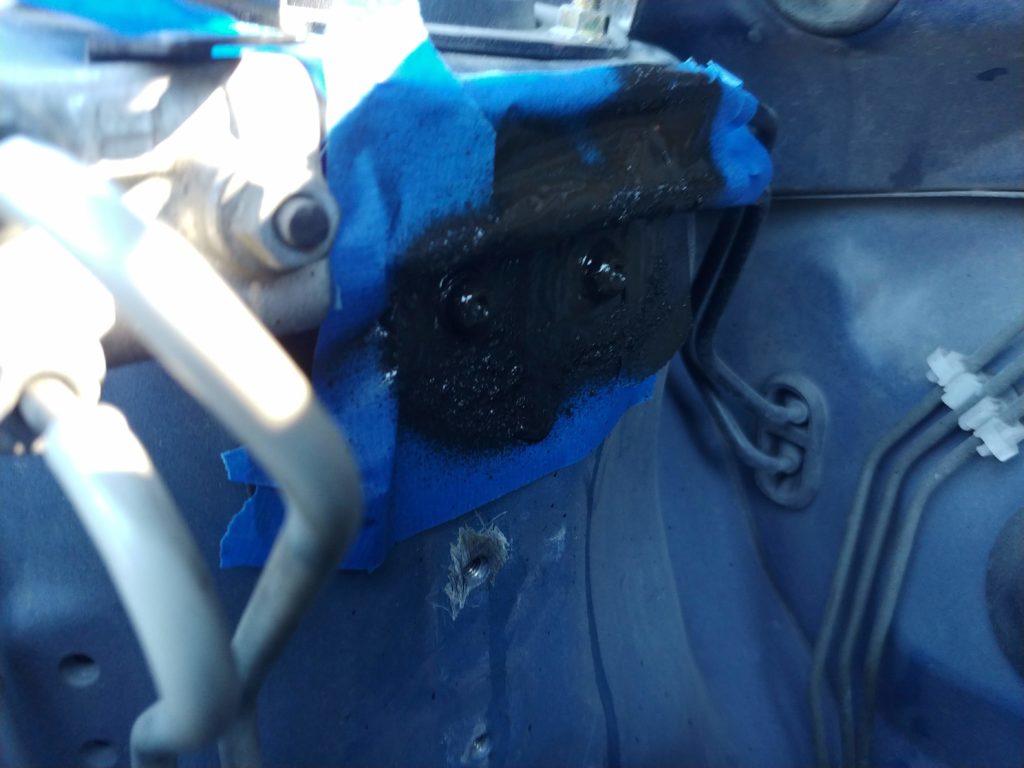
Undercoating to prevent rust -

-

Bracket test fit -

Mounted cans to bracket -
-
-
-
Test fit -

-
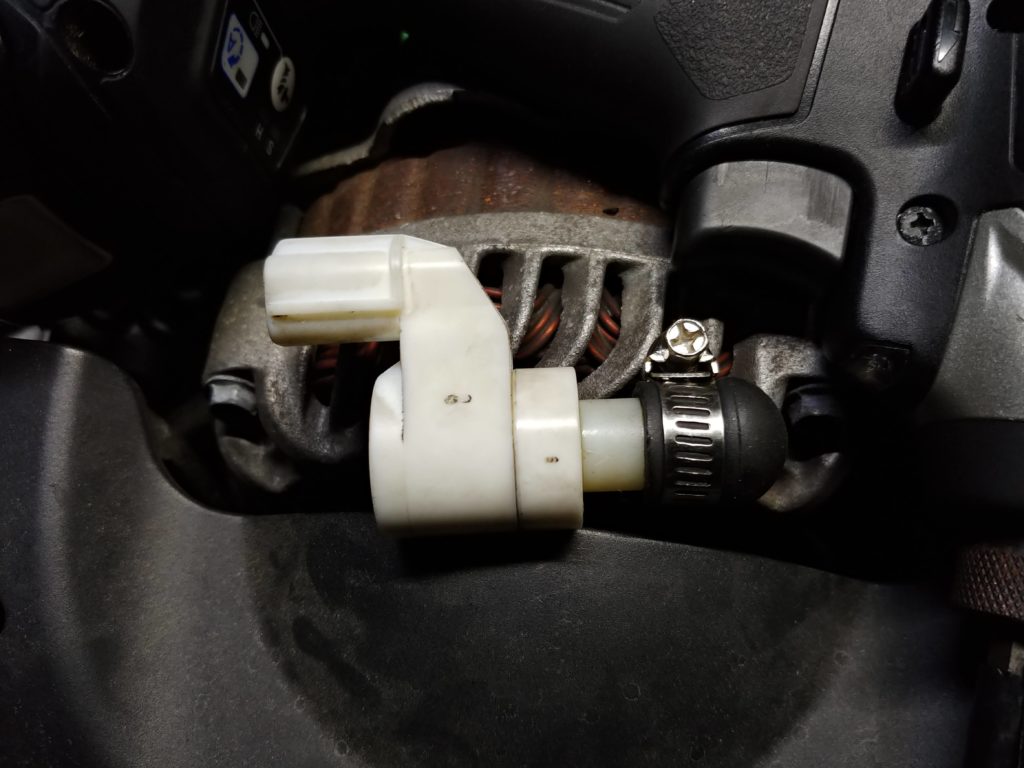
Vacuum capped turbo inlet plug -

-
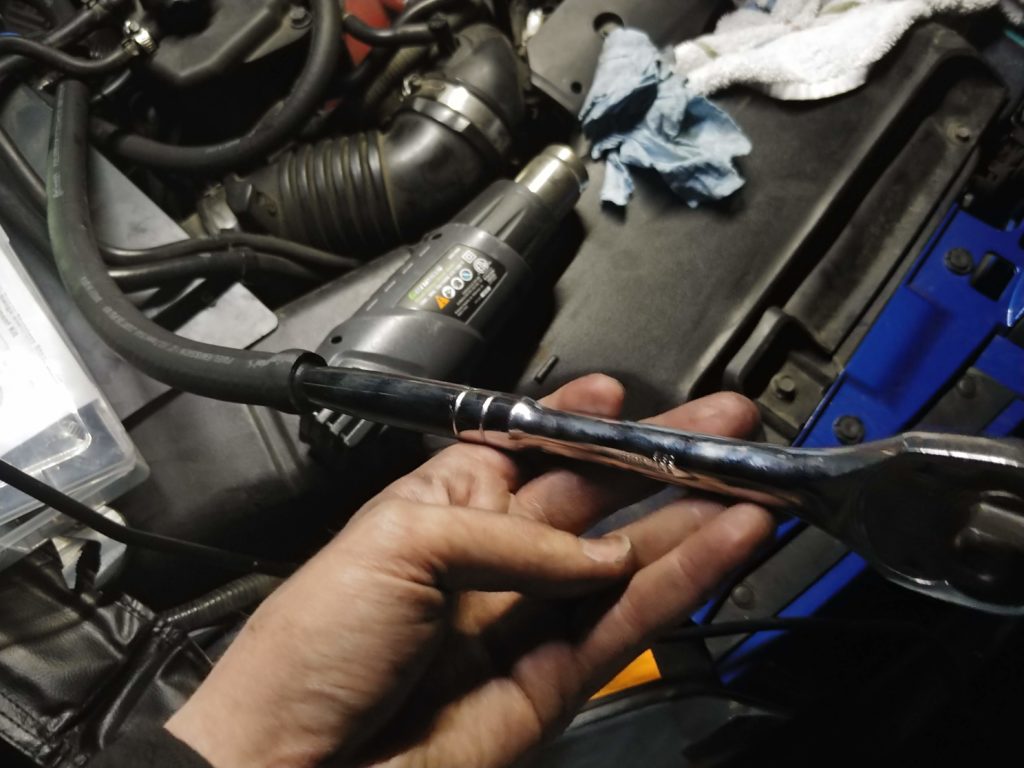
Expanding hose -
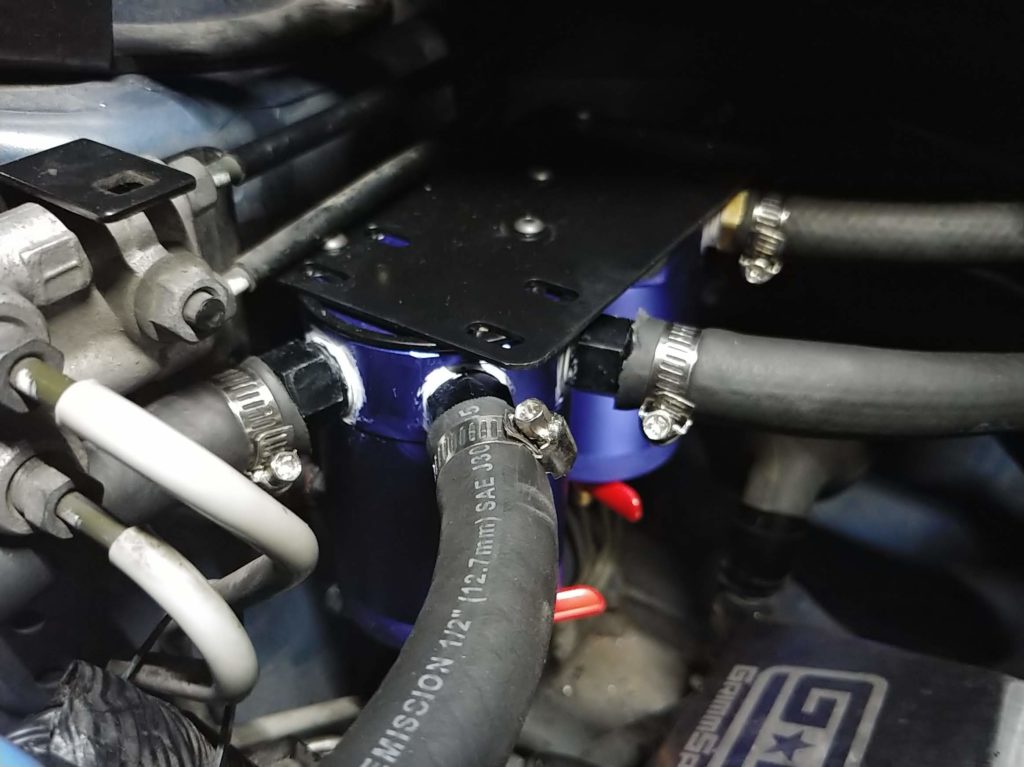
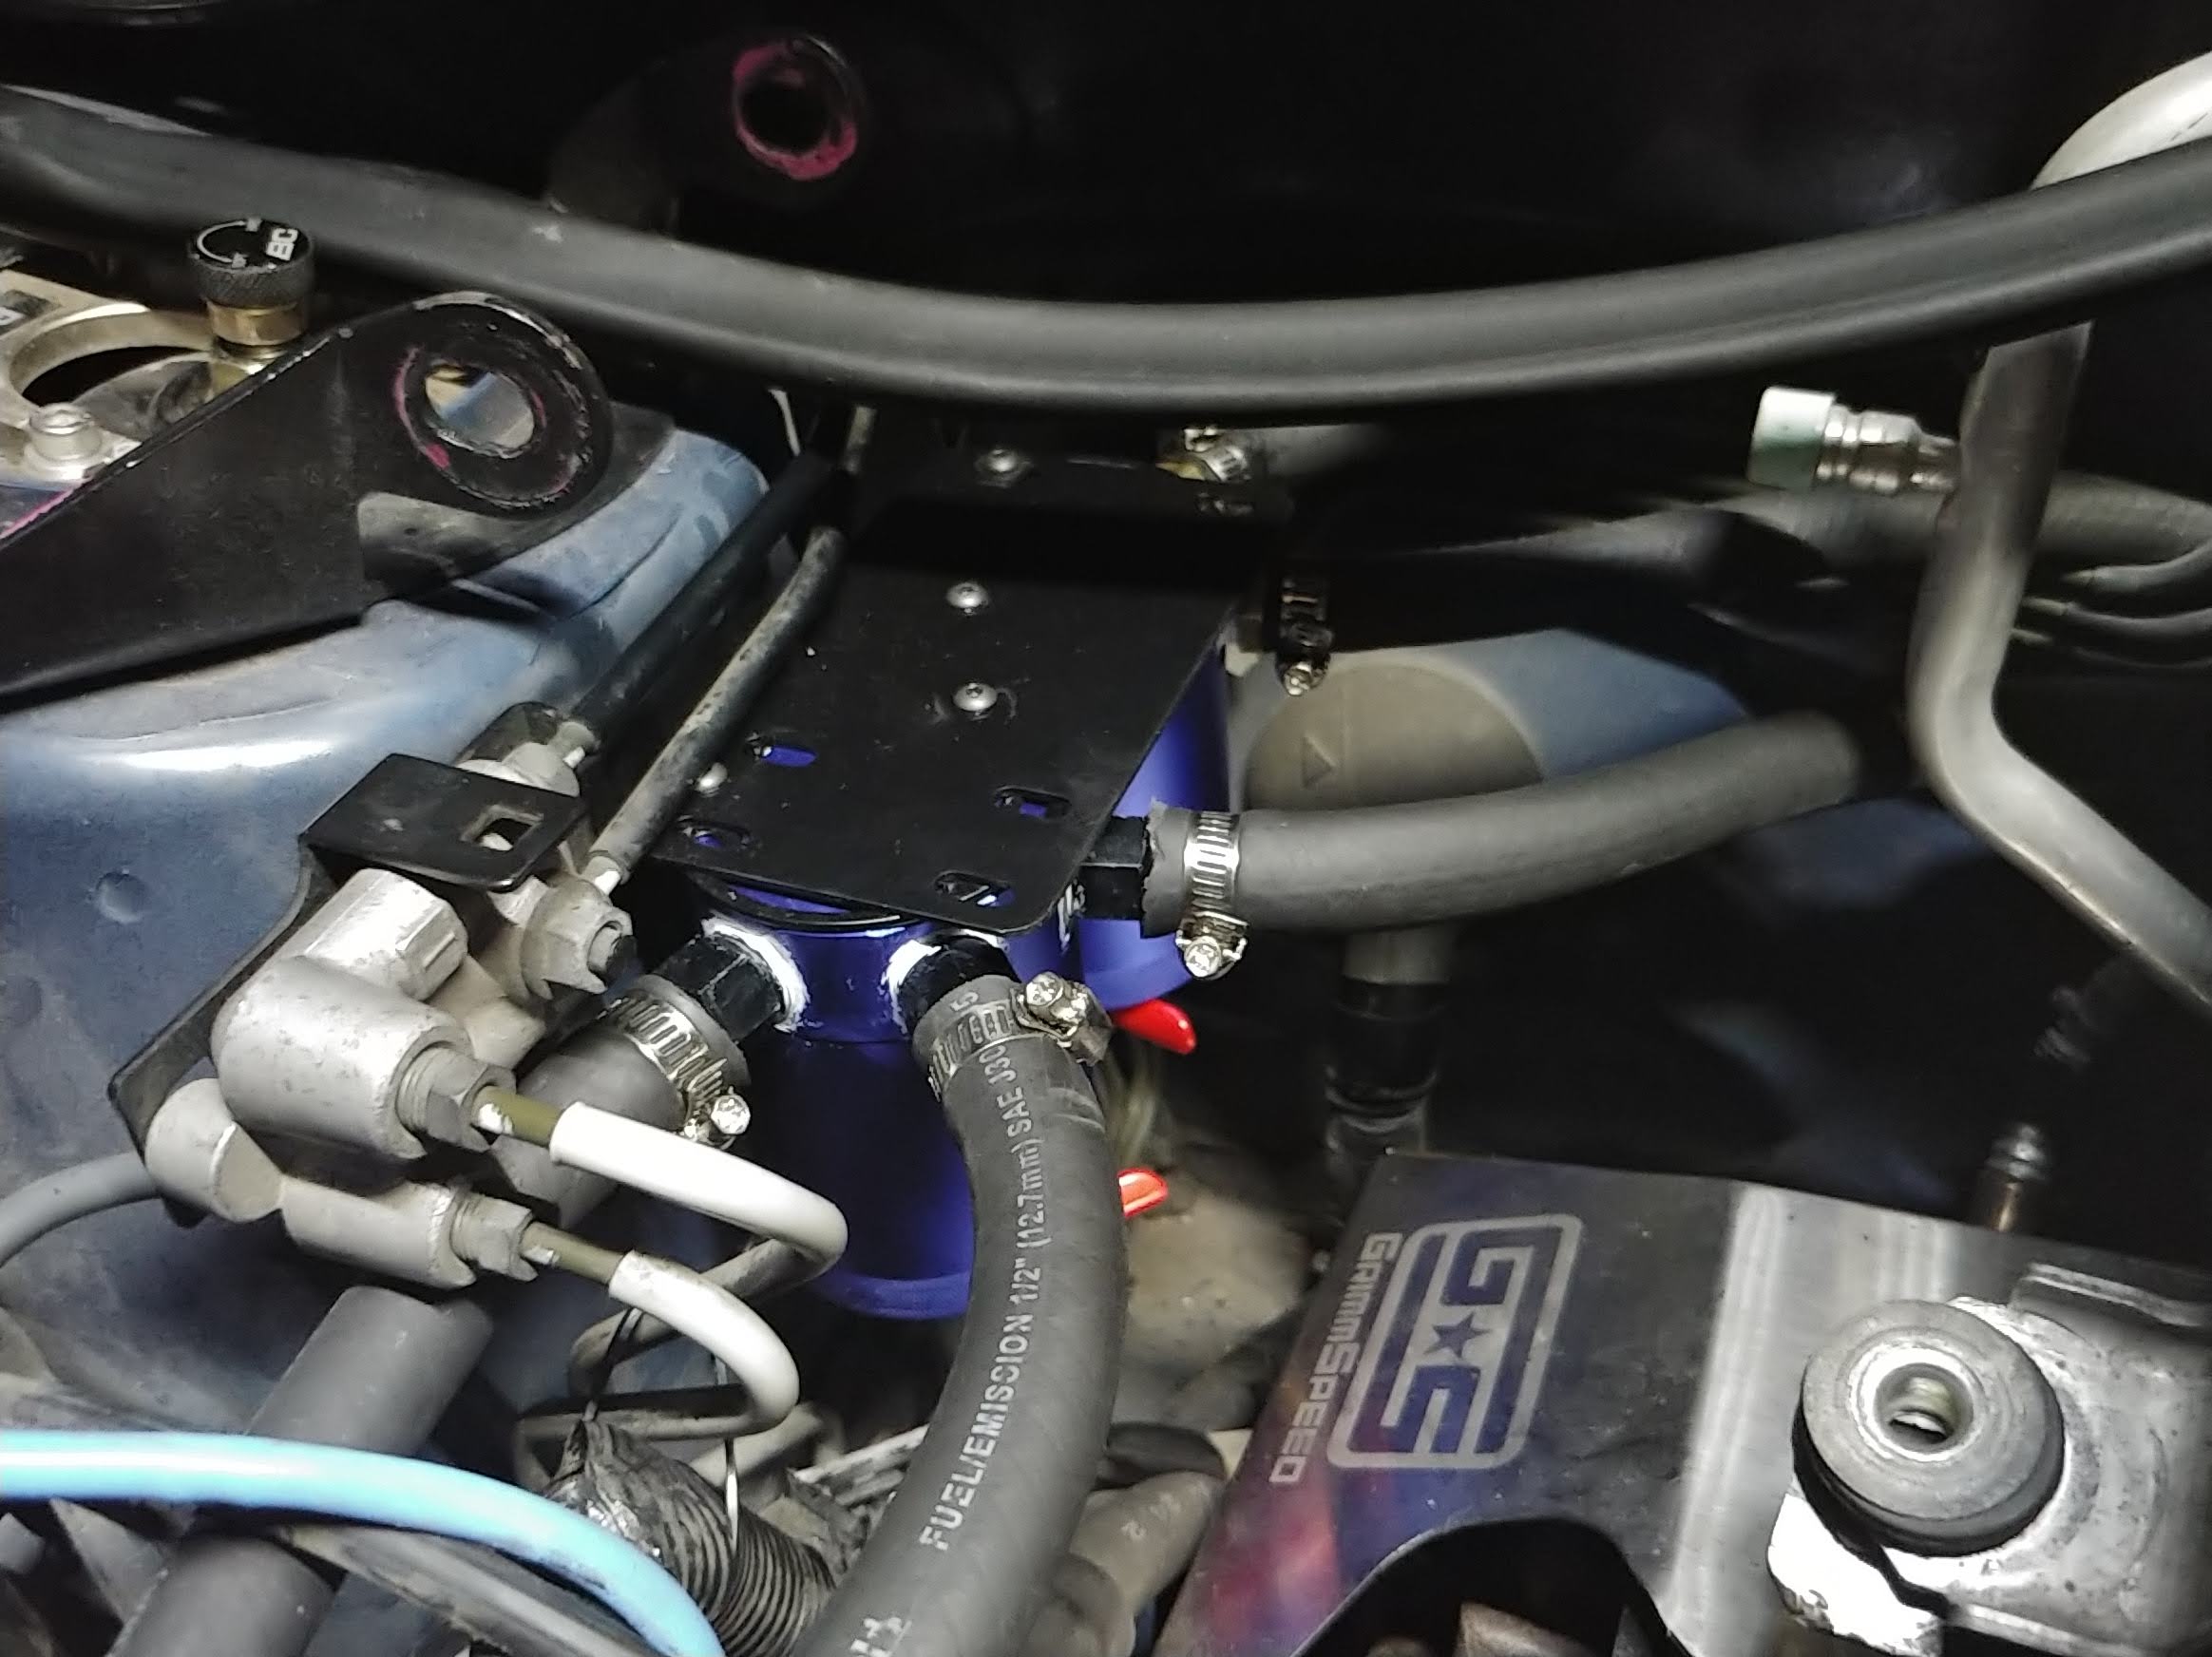
Piped up -

-
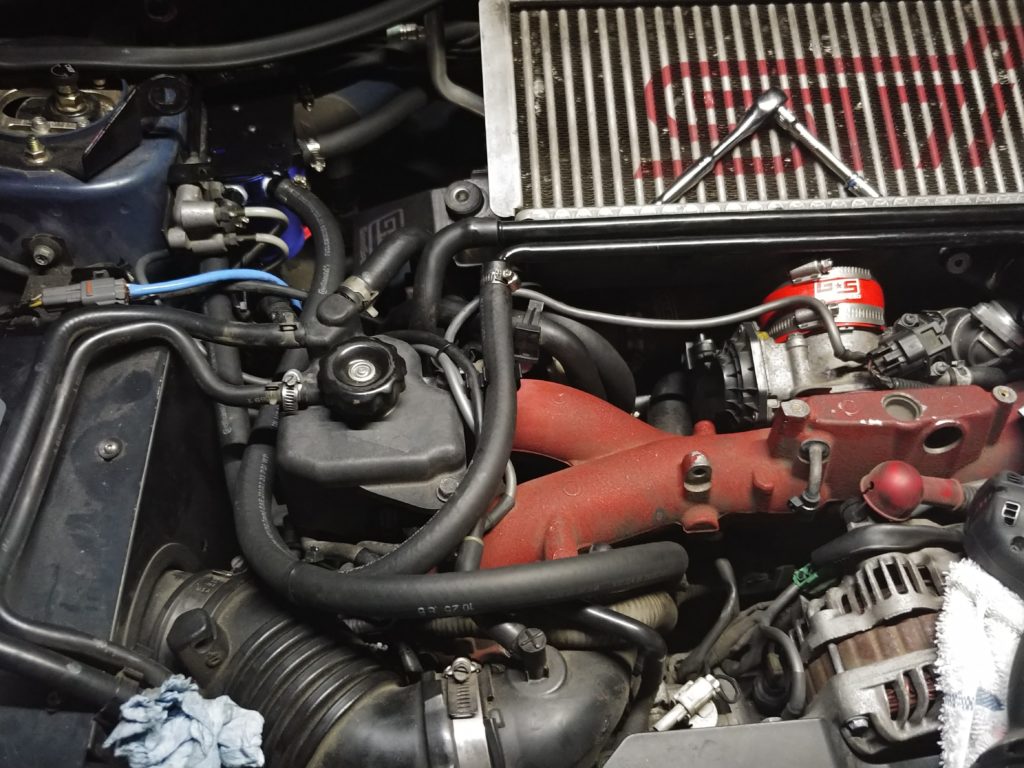
Routed hoses -
Finished product -
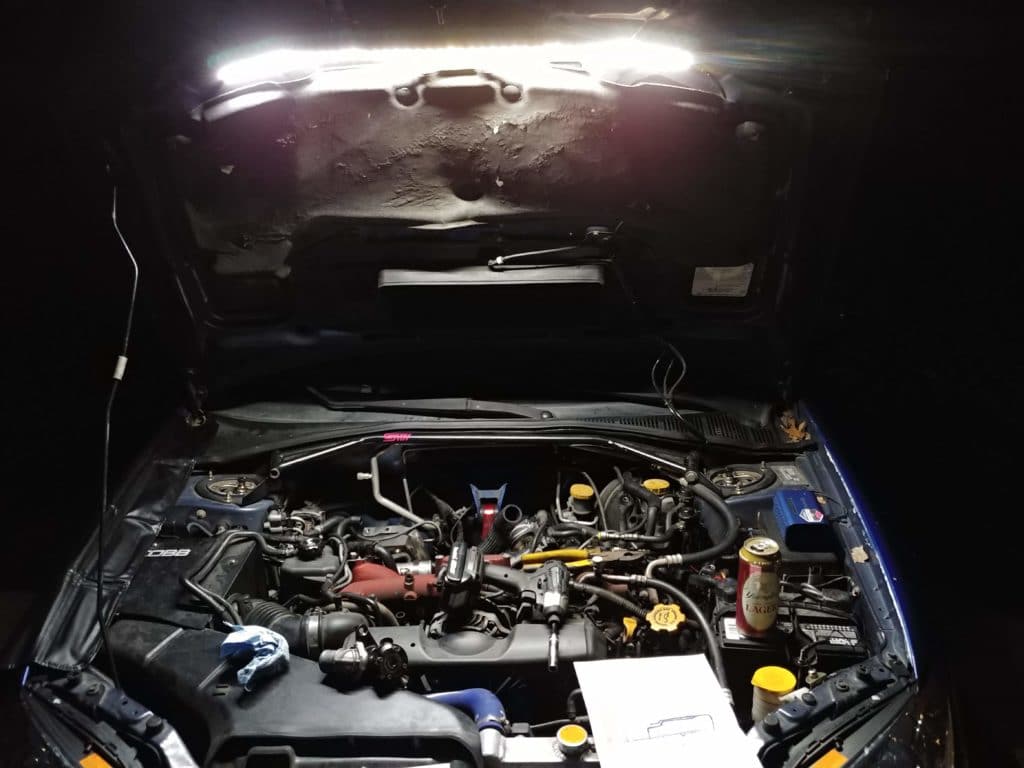
This hood light is awesome!


Update:
After I had this installed on the car for a bit, I would recommend upgrading to higher quality drain valves. One of mine had a very slow leak to it, but other than that, this kit worked out great. I’m not sure how it’s holding up now because I sold the car a few months after installing this.